Wavy, tousled, and effortlessly beautiful— the water-wave hair look is a timeless style that embodies natural elegance and a carefree spirit. This style mimics the relaxed, soft waves of water, creating a laid-back and casual yet chic appearance. Achieving this sought-after look is simpler than you might think, and with the right techniques and tools, you can effortlessly style your hair to achieve those perfect waves. In this comprehensive guide, we’ll delve into how to achieve and style the water-wave hair look, ensuring you master this versatile and appealing hairstyle.
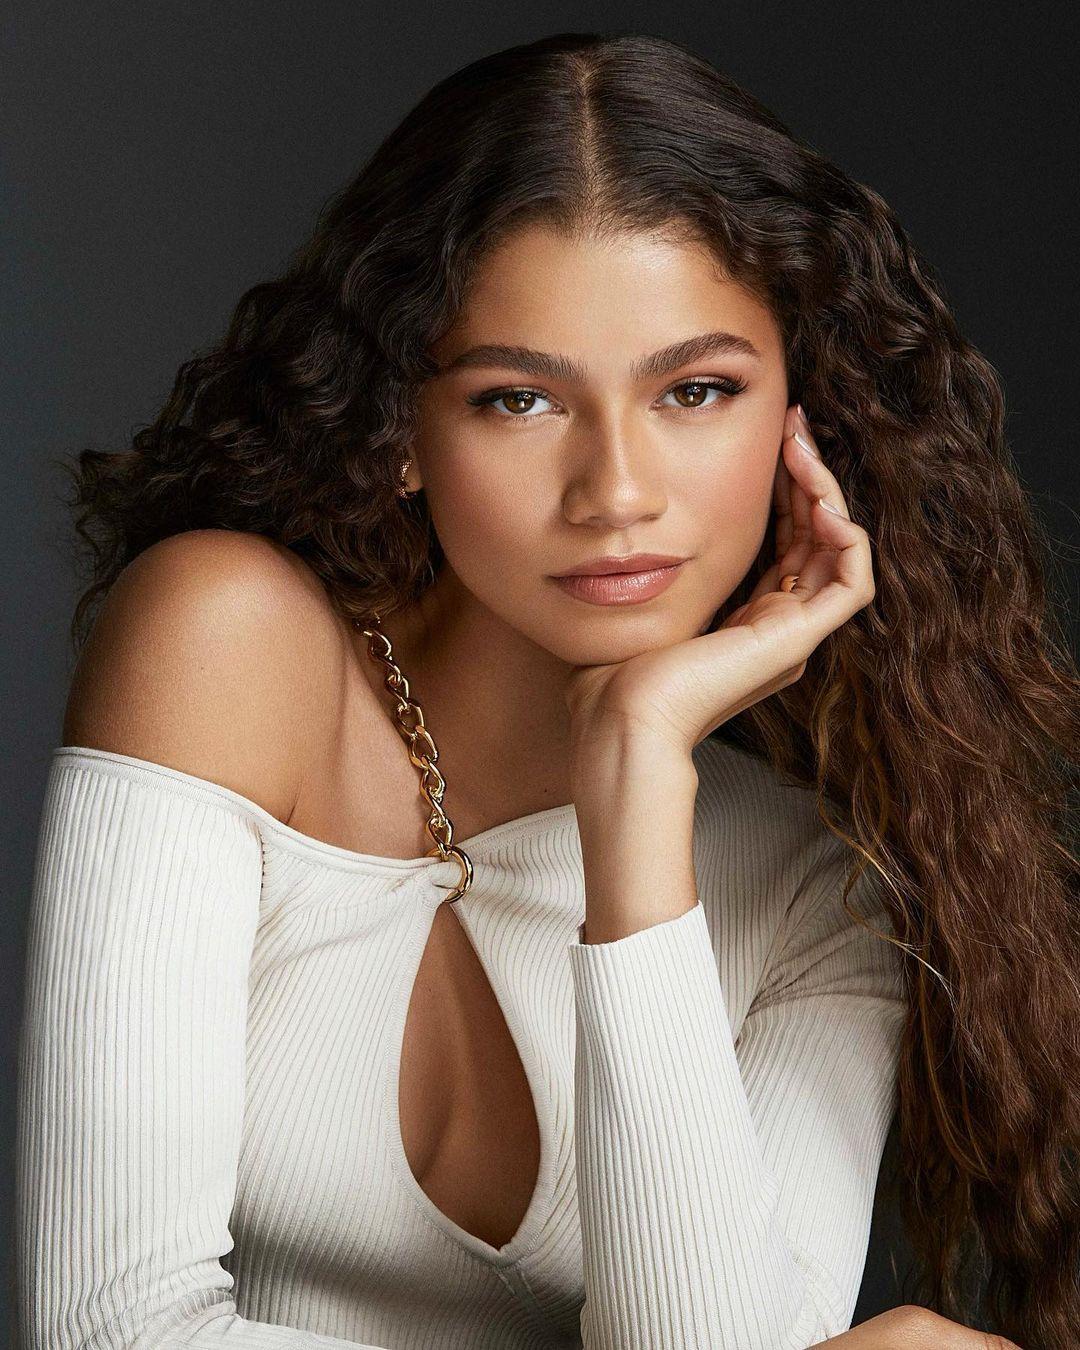
Picture Courtesy: Zendaya via Instagram
Understanding the Water-Wave Hair Look
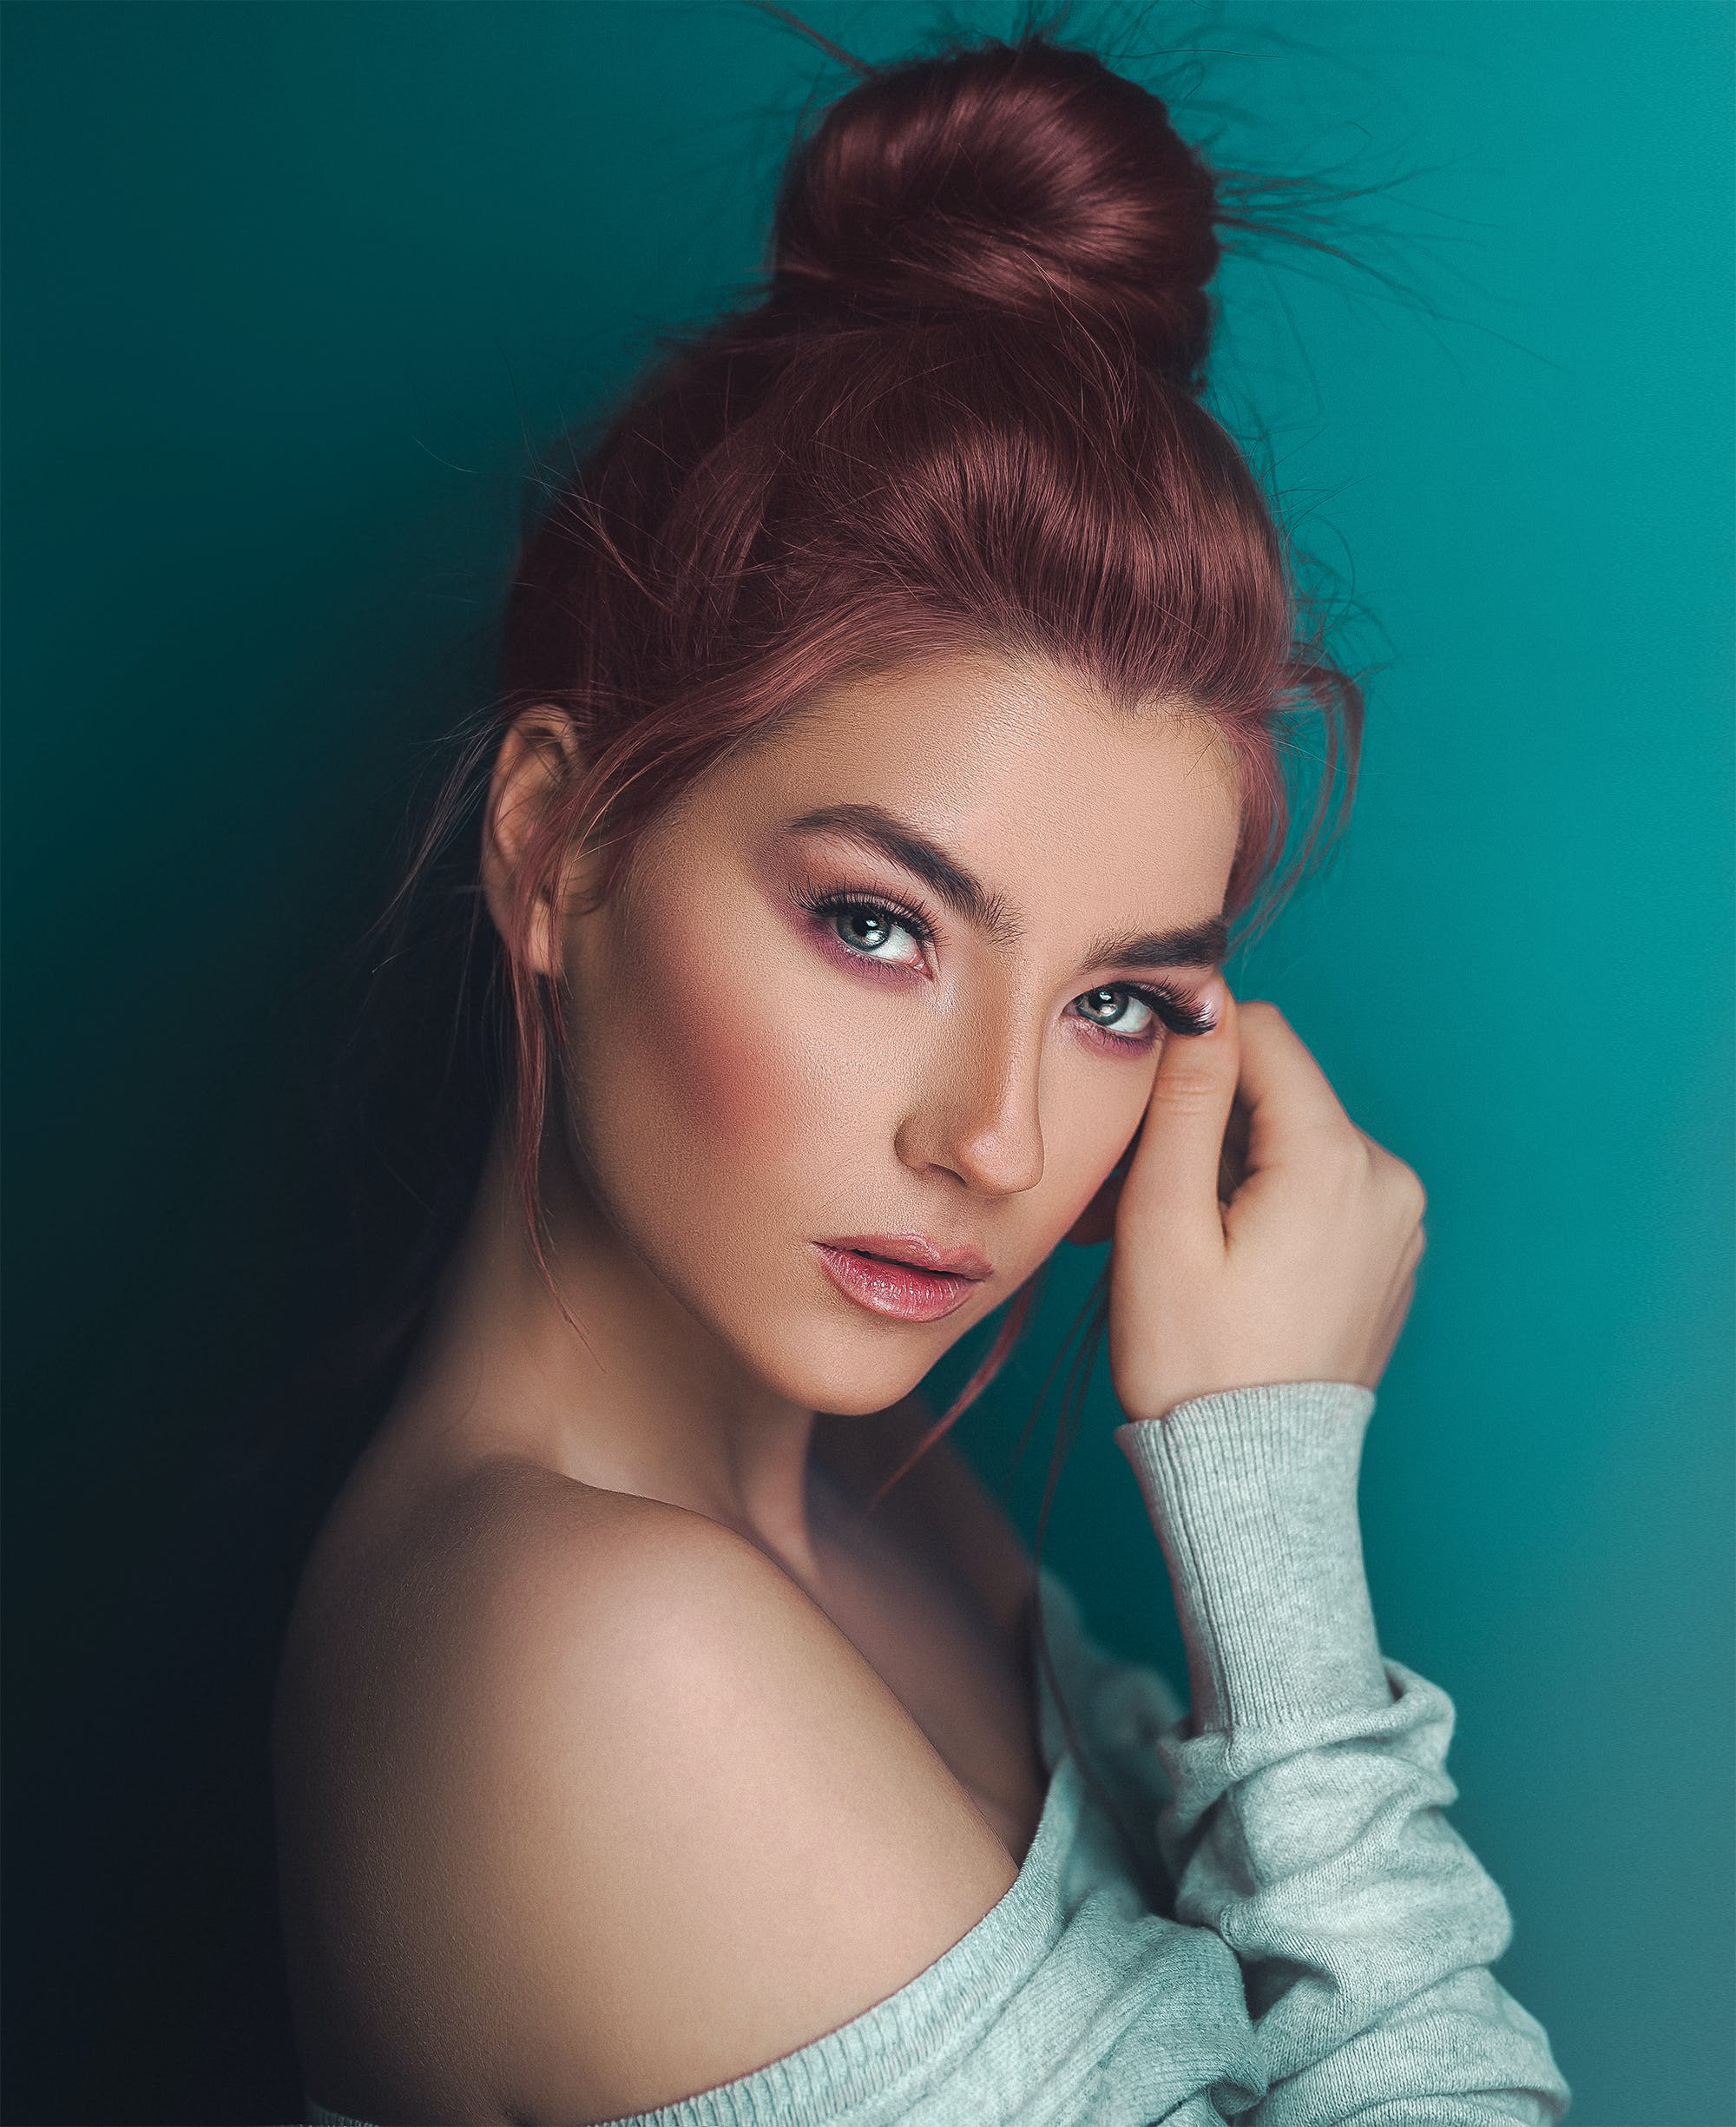
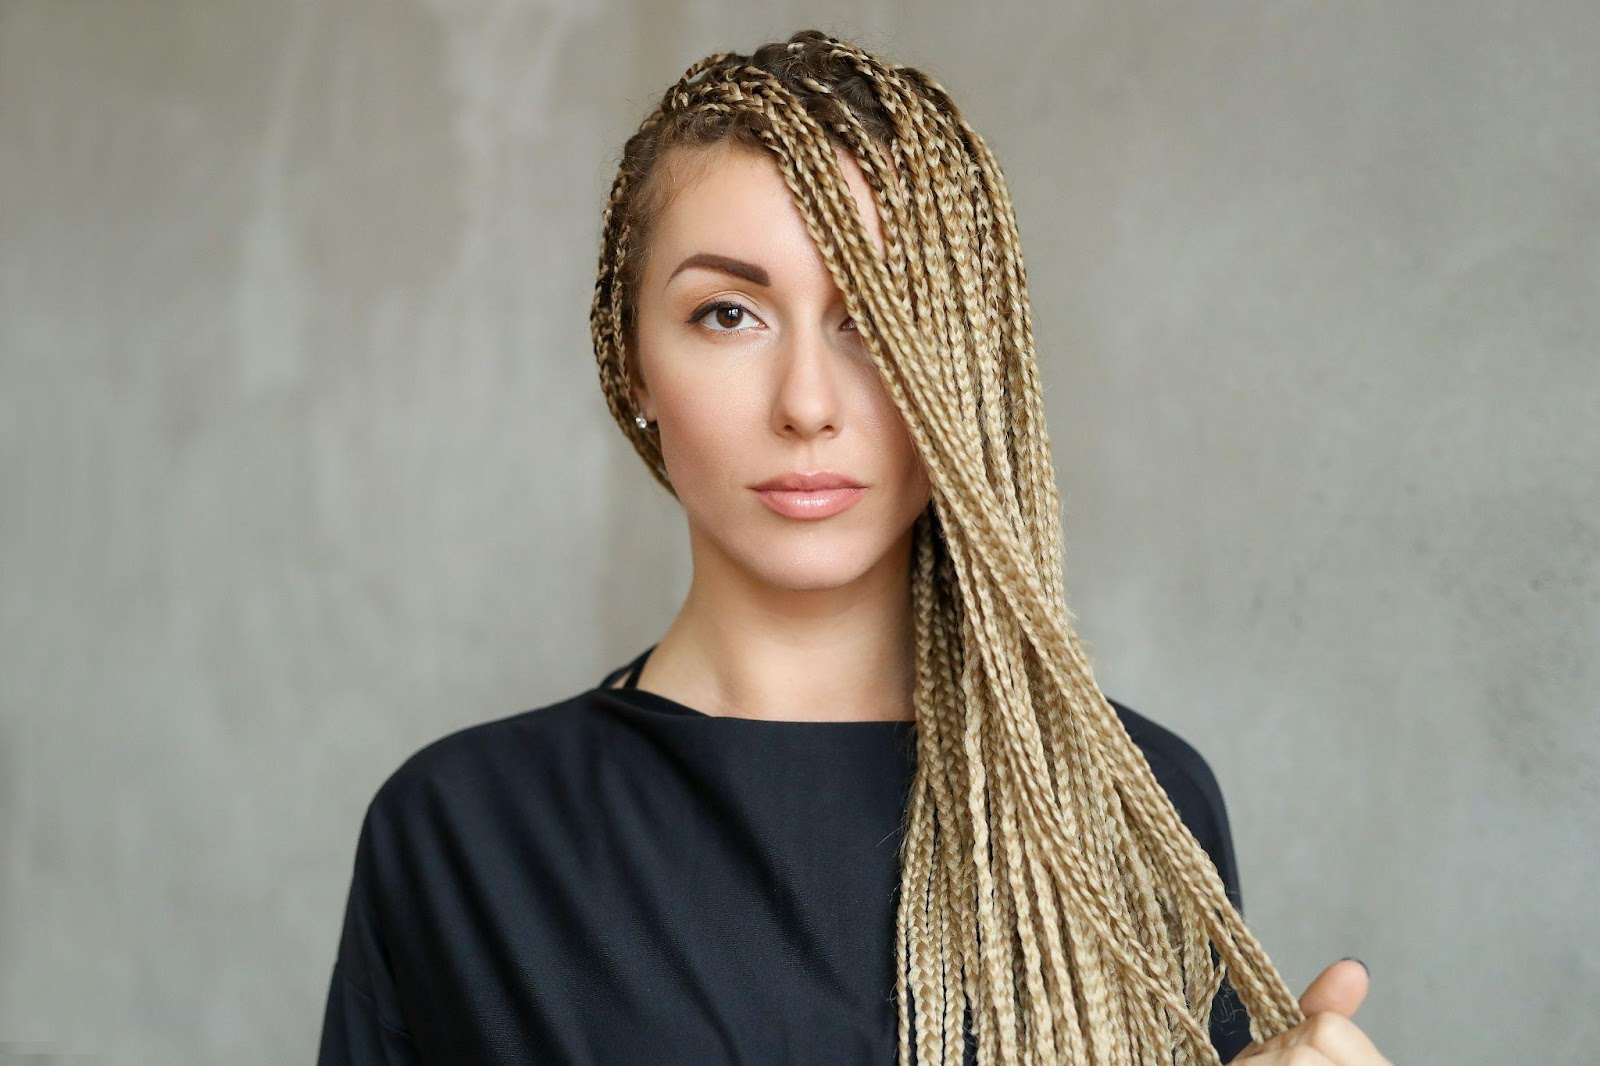
Before diving into the steps to achieve and style the water-wave hair look, let’s first understand what it entails. The water-wave hairstyle is characterized by loose, natural-looking waves that resemble the way your hair looks after it dries from a swim in the ocean or a dip in the pool. The waves are soft, slightly tousled, and not overly defined, which adds to the effortless and carefree vibe of this style.
These waves are suitable for various occasions and outfits, making them a go-to hairstyle for both casual and more dressed-up events. Whether you’re going for a day at the beach, a night out with friends, or a formal gathering, the water-wave hair look complements a wide range of outfits and makeup choices.
Achieving the Water-Wave Hair Look
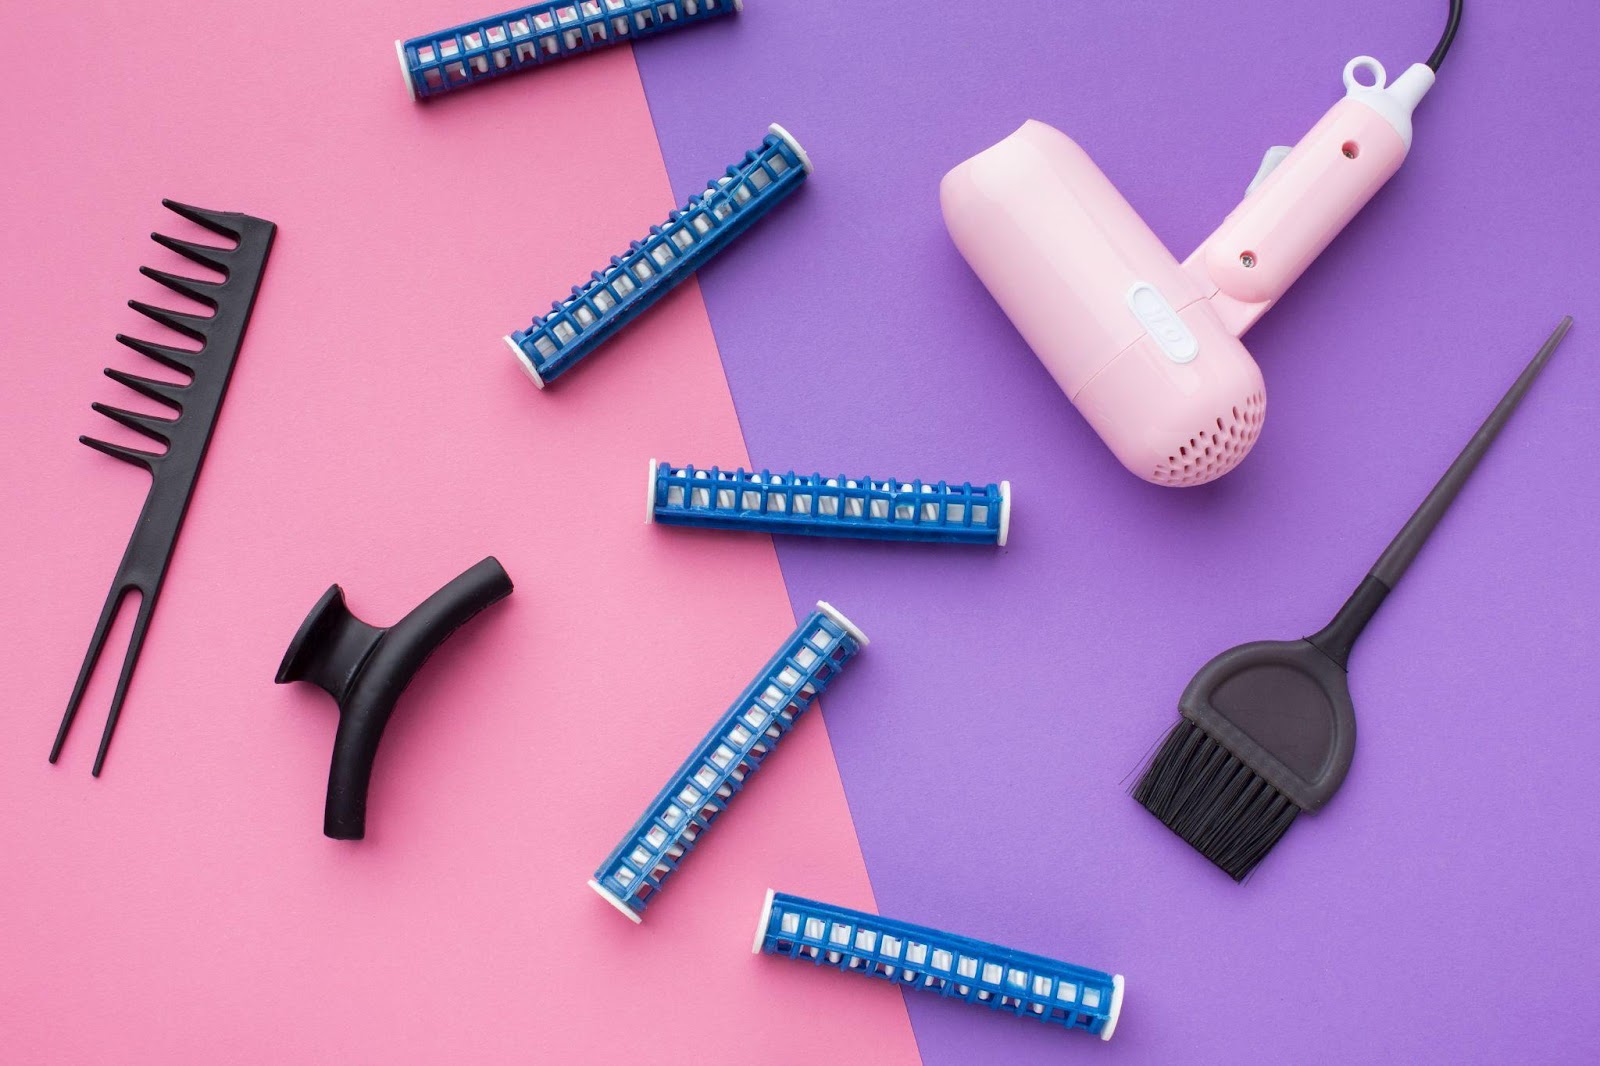
To achieve the water-wave hair look, you’ll need the right tools and products, and you’ll follow a series of steps designed to create those effortless, natural waves. Here’s a detailed guide to achieving this sought-after hairstyle:
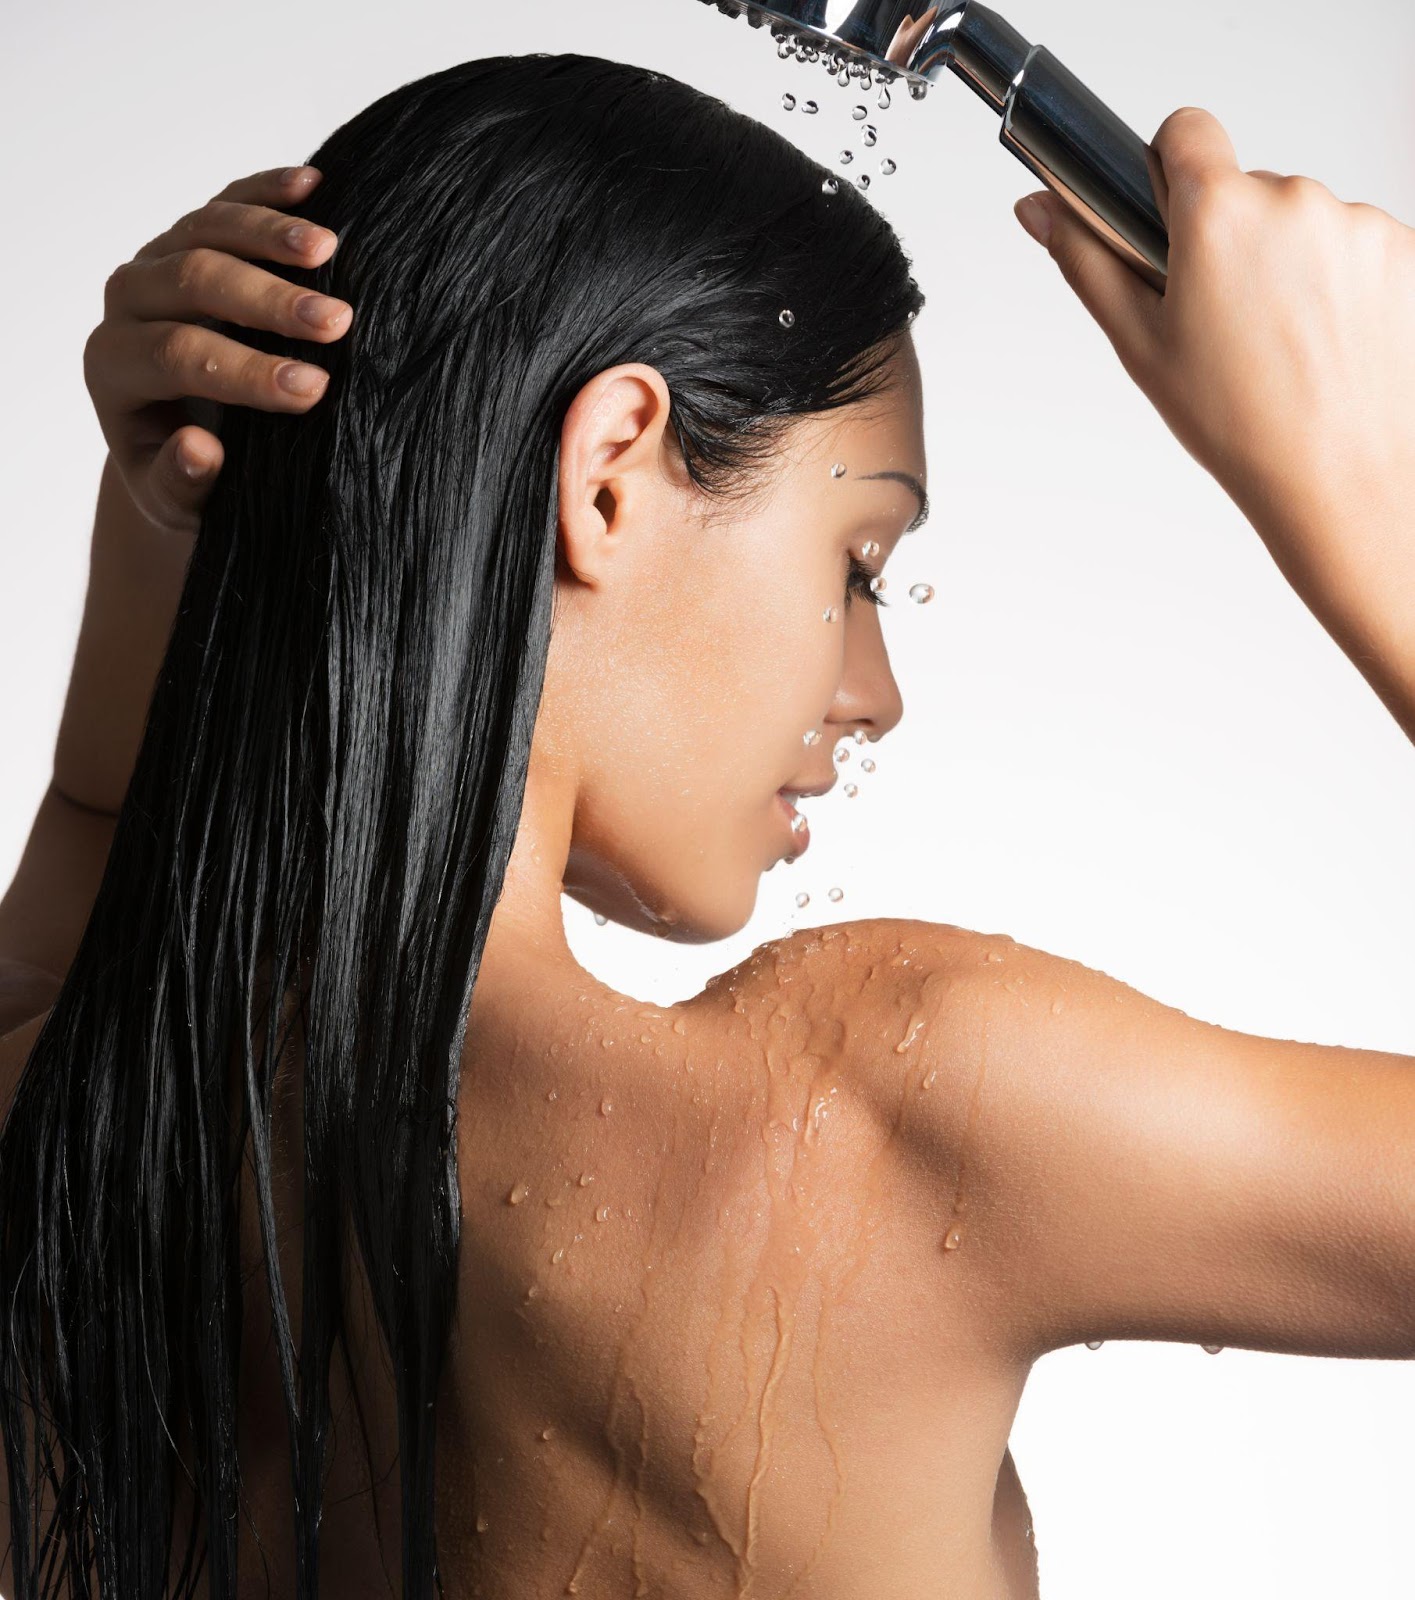
Step 1: Prepare Your Hair
1. Start with Clean, Damp Hair:
Begin by washing your hair using a mild shampoo and conditioner that suits your hair type. Towel-dry your hair to remove excess water, leaving it slightly damp.
Picture Courtesy: Freepik
2. Apply Heat Protectant:
Apply a heat protectant product to shield your hair from the potential damage caused by heat styling tools. Heat protectants also help maintain the style and health of your hair.
Step 2: Divide and Conquer
1. Section Your Hair:
Divide your hair into manageable sections. Start by parting your hair down the middle and then further dividing it into horizontal sections. Clip the sections to keep them separate and manageable.
Step 3: Create the Waves
1. Use a Curling Wand:
A curling wand is ideal for creating natural-looking waves. Take a small section of hair and wrap it around the curling wand, starting from the middle of the strand and working towards the ends. Hold for a few seconds and release.
Picture Courtesy: Freepik
2. Alternate Curl Directions:
To achieve a more natural and beachy look, alternate the direction in which you curl the hair. Curl some sections towards your face and others away from your face for a more textured appearance.
3. Vary the Size of Sections:
Vary the size of the sections you’re curling to create a more textured and effortless look. Some sections can be larger, while others can be smaller, for a more organic wave pattern.
4. Leave the Ends Straight:
For a true water-wave look, leave the ends of your hair straight or just lightly curled. This helps maintain the natural appearance of the waves.
5. Let the Waves Cool:
Allow the waves to cool completely before moving on to the next step. This helps set the waves and ensures they last longer.
Step 4: Finish and Set
1. Apply Texturizing Spray:
Once the waves have cooled, apply a texturizing spray or sea salt spray to add volume, texture, and hold to your waves. Gently scrunch your hair to distribute the product evenly.
2. Adjust and Tousle:
Gently run your fingers through your hair to loosen the waves and create a more tousled, natural look. Don’t overdo it; the goal is to maintain a relaxed appearance.
3. Optional: Apply Shine Serum:
If you prefer a shinier finish, you can apply a small amount of shine serum or hair oil to the ends of your hair to add a subtle sheen.
4. Set with Hairspray:
To ensure your waves stay in place throughout the day or night, lightly mist your hair with a flexible hold hairspray. This will provide additional hold without making your hair feel stiff or unnatural.

Picture Courtesy: Freepik
Step 5: Final Touches
1. Personalize and Adjust:
Take a moment to personalize your look by adjusting the waves to your liking. You can use your fingers to gently reshape and reposition the waves to achieve the perfect, effortless look for your hair.
2. Accessorize (Optional):
If desired, enhance your water-wave hair look with accessories such as hairpins, clips, or a headband to add a touch of flair and style.
Styling Tips for the Water-Wave Hair Look
Now that you’ve achieved the water-wave hair look, let’s explore some styling tips to make the most of this fabulous hairstyle:
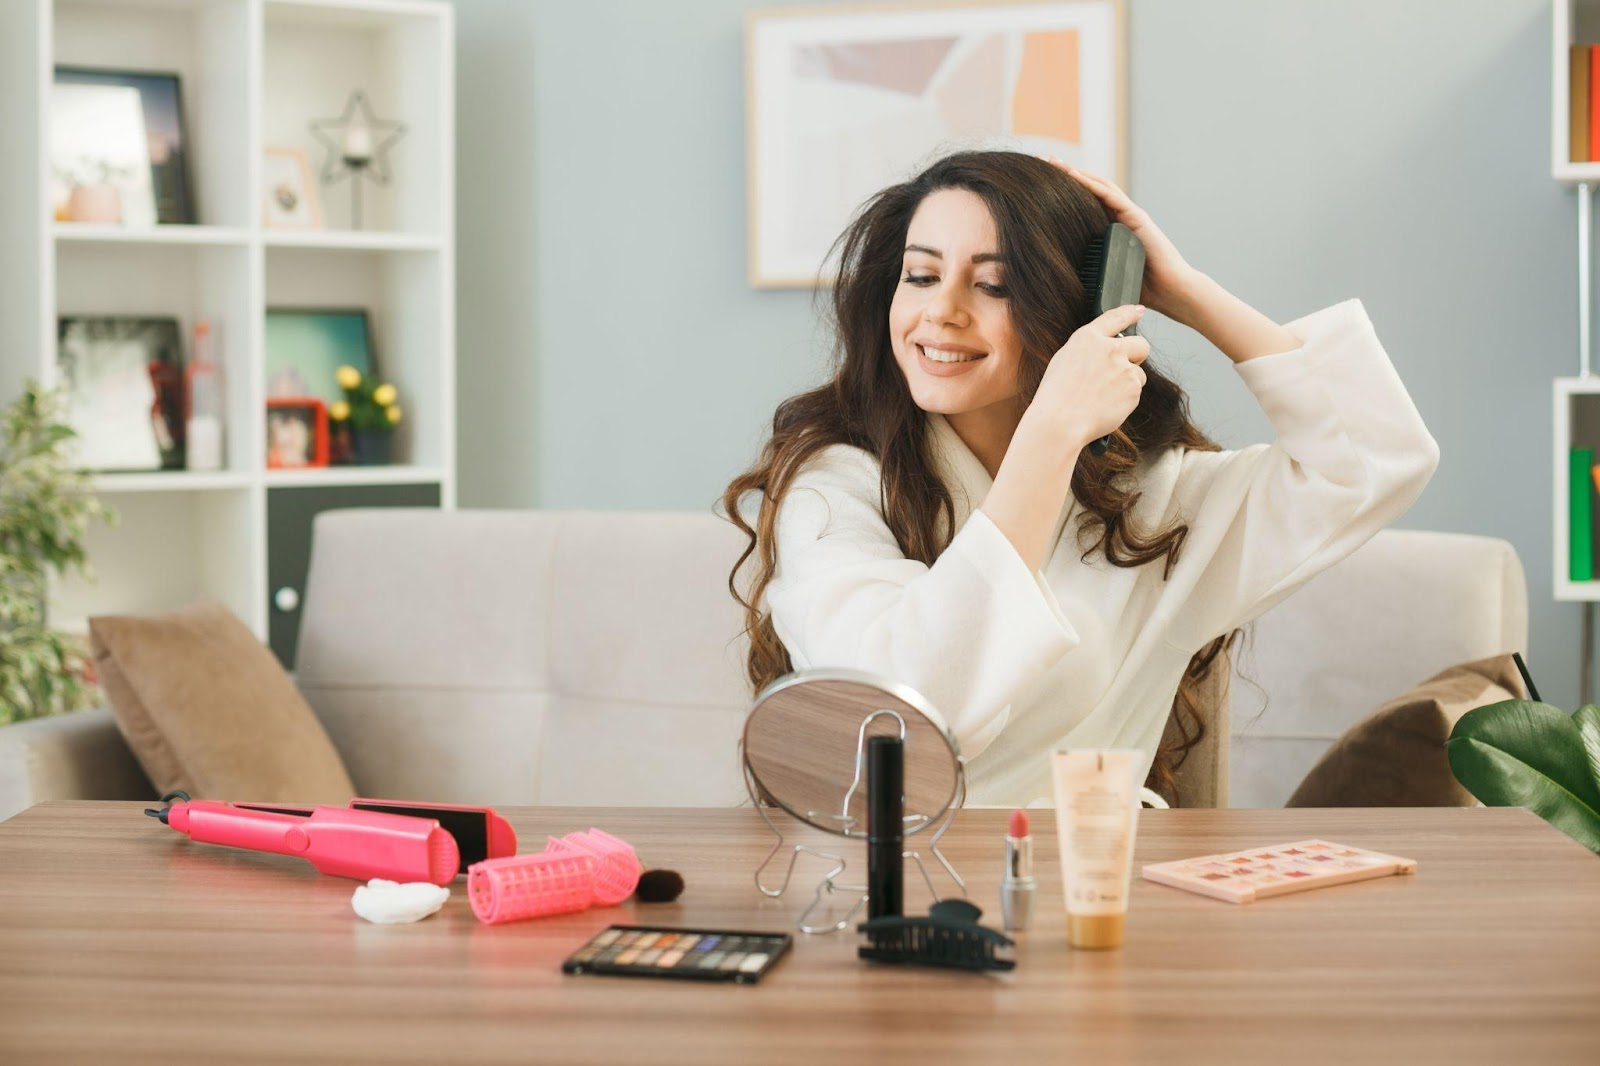
1. Experiment with Parting:
The water-wave hair look can be styled with a middle part, a deep side part, or even no part at all. Experiment with different parting options to find what flatters your face shape and personal style.
Picture Courtesy: Freepik
2. Play with Hair Length:
Water waves can look stunning on various hair lengths, from short to long. Tailor the wave size and pattern to your hair length for the most flattering and natural appearance.
3. Enhance Texture:
If you have naturally straight hair and want to enhance the texture of your waves, use a sea salt spray or texturizing product before curling. This will help your waves hold better and look more natural.
4. Refresh Waves:
If your waves start to lose their shape or volume throughout the day, you can refresh them by lightly scrunching your hair with damp hands or by using a bit of texturizing spray.
5. Vary Wave Intensity:
Adjust the intensity of the waves based on your preference. For a more subtle water-wave look, use a larger curling wand and create looser curls. For a more defined wave, use a smaller wand and tighter curls.
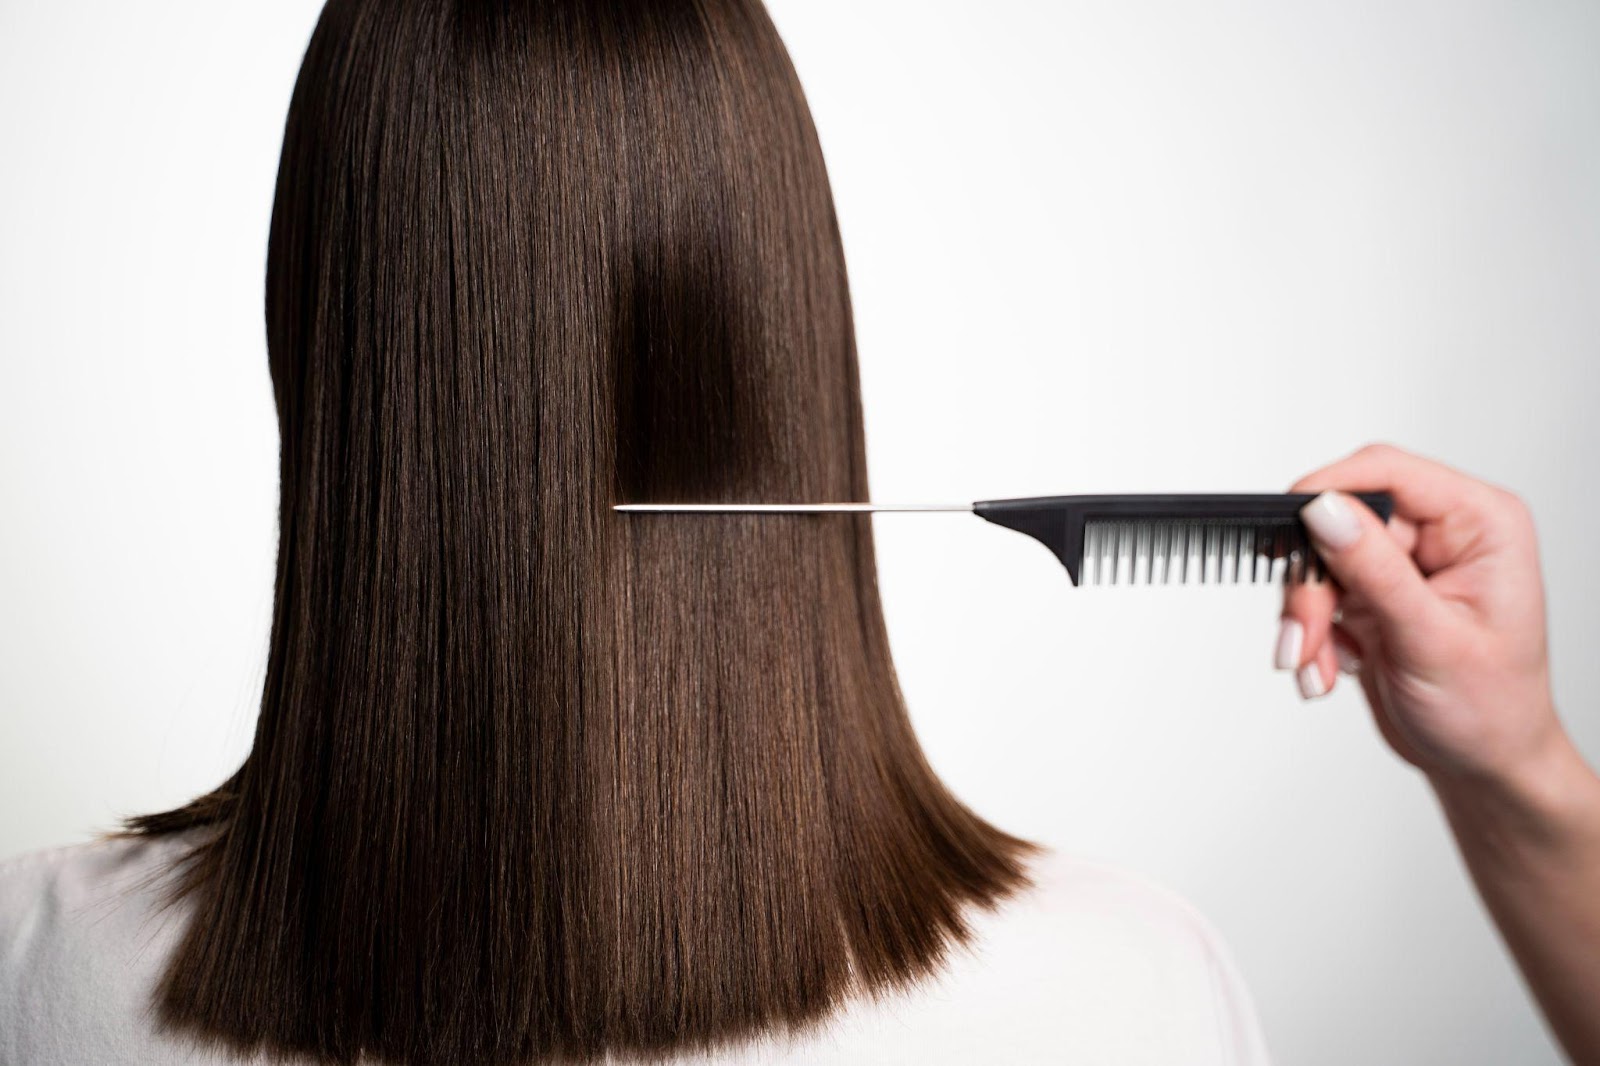
6. Maintain Hair Health:
Healthy hair enhances any hairstyle. Maintain your hair’s health by regularly trimming split ends, deep conditioning, and using products that promote shine and manageability.
To further enhance and perfect your water-wave hair look, consider these additional tips and tricks that can take your waves to the next level:
1. Create S-Curve Waves:
For a more intricate and textured look, try creating S-curve waves. After wrapping a section of hair around the curling wand, twist the wand slightly as you pull the hair downward. This creates a subtle S-shaped wave.
2. Braid and Set:
If you have time, consider braiding your hair into loose braids after curling each section. Allow the braids to set for a while before releasing them. This technique can add more texture and a natural wave pattern.
Picture Courtesy: Freepik
3. Overnight Twists:
Achieve effortless waves overnight by twisting slightly damp hair into multiple buns or twists. Sleep on it, and in the morning, release the twists to reveal soft, natural waves.
4. Use Velcro Rollers:
After curling a section of hair, roll it up in a Velcro roller to set the wave while it cools. This can enhance the texture and volume of the waves.

Picture Courtesy: Freepik
5. Blow-Dry with Diffuser:
If you have naturally wavy hair, enhance your waves by blow-drying with a diffuser attachment. This will define your natural waves and create a more voluminous look.
6. Experiment with Products:
Tailor the products you use to your hair type. If you have fine hair, opt for lighter texturizing sprays. For thicker hair, use more substantial products that provide hold and definition.
By incorporating these additional tips and tricks into your styling routine, you can achieve a truly customized and stunning water-wave hair look that suits your unique preferences and enhances your natural beauty.
Frequently Asked Questions (FAQs)
Q1: Can I achieve the water-wave hair look without using heat styling tools?
Yes, you can achieve a similar look without using heat styling tools. After washing your hair, twist small sections and let them air-dry to create a natural wave pattern. You can also try braiding your hair or using various styling products to enhance and define your natural waves.
Picture Courtesy: Freepik
Q2: How can I make my waves last longer?
To make your waves last longer, be sure to use a good quality texturizing spray or sea salt spray after curling. You can also secure the waves with bobby pins while they cool to help set the pattern. Additionally, avoid touching or brushing your waves too much to maintain their shape throughout the day.
Q3: Will the water-wave hair look suit my face shape?
The water-wave hair look is versatile and generally complements most face shapes. The soft, natural waves add a gentle frame to your face and can enhance your features. Experiment with different partings and lengths to find what flatters your specific face shape the most.
Q4: Can I achieve this look on short hair?
Absolutely! The water-wave hair look can be achieved on short hair as well. Use a smaller curling wand and focus on creating defined waves. Adjust the size of the sections and the intensity of the curls to suit the length of your hair.
The water-wave hair look is a timeless and beautiful hairstyle that can effortlessly elevate your overall appearance. By following the steps outlined in this guide and incorporating the additional tips provided, you’ll be able to achieve those relaxed, natural waves and style them to perfection. Embrace the versatility of the water-wave hair look and let your hair cascade in beautiful, carefree waves, exuding a sense of elegance and confidence wherever you go.
The Water-Wave Hair Look: Achieving and Styling Effortless Waves
Wavy, tousled, and effortlessly beautiful— the water-wave hair look is a timeless style that embodies natural elegance and a carefree spirit. This style mimics the relaxed, soft waves of water, creating a laid-back and casual yet chic appearance. Achieving this sought-after look is simpler than you might think, and with the right techniques and tools, you can effortlessly style your hair to achieve those perfect waves. In this comprehensive guide, we’ll delve into how to achieve and style the water-wave hair look, ensuring you master this versatile and appealing hairstyle.
Picture Courtesy: Zendaya via Instagram
Understanding the Water-Wave Hair Look
Before diving into the steps to achieve and style the water-wave hair look, let’s first understand what it entails. The water-wave hairstyle is characterized by loose, natural-looking waves that resemble the way your hair looks after it dries from a swim in the ocean or a dip in the pool. The waves are soft, slightly tousled, and not overly defined, which adds to the effortless and carefree vibe of this style.
These waves are suitable for various occasions and outfits, making them a go-to hairstyle for both casual and more dressed-up events. Whether you’re going for a day at the beach, a night out with friends, or a formal gathering, the water-wave hair look complements a wide range of outfits and makeup choices.
Achieving the Water-Wave Hair Look
To achieve the water-wave hair look, you’ll need the right tools and products, and you’ll follow a series of steps designed to create those effortless, natural waves. Here’s a detailed guide to achieving this sought-after hairstyle:
Step 1: Prepare Your Hair
1. Start with Clean, Damp Hair:
Begin by washing your hair using a mild shampoo and conditioner that suits your hair type. Towel-dry your hair to remove excess water, leaving it slightly damp.
Picture Courtesy: Freepik
2. Apply Heat Protectant:
Apply a heat protectant product to shield your hair from the potential damage caused by heat styling tools. Heat protectants also help maintain the style and health of your hair.
Step 2: Divide and Conquer
1. Section Your Hair:
Divide your hair into manageable sections. Start by parting your hair down the middle and then further dividing it into horizontal sections. Clip the sections to keep them separate and manageable.
Step 3: Create the Waves
1. Use a Curling Wand:
A curling wand is ideal for creating natural-looking waves. Take a small section of hair and wrap it around the curling wand, starting from the middle of the strand and working towards the ends. Hold for a few seconds and release.
Picture Courtesy: Freepik
2. Alternate Curl Directions:
To achieve a more natural and beachy look, alternate the direction in which you curl the hair. Curl some sections towards your face and others away from your face for a more textured appearance.
3. Vary the Size of Sections:
Vary the size of the sections you’re curling to create a more textured and effortless look. Some sections can be larger, while others can be smaller, for a more organic wave pattern.
4. Leave the Ends Straight:
For a true water-wave look, leave the ends of your hair straight or just lightly curled. This helps maintain the natural appearance of the waves.
5. Let the Waves Cool:
Allow the waves to cool completely before moving on to the next step. This helps set the waves and ensures they last longer.
Step 4: Finish and Set
1. Apply Texturizing Spray:
Once the waves have cooled, apply a texturizing spray or sea salt spray to add volume, texture, and hold to your waves. Gently scrunch your hair to distribute the product evenly.
2. Adjust and Tousle:
Gently run your fingers through your hair to loosen the waves and create a more tousled, natural look. Don’t overdo it; the goal is to maintain a relaxed appearance.
3. Optional: Apply Shine Serum:
If you prefer a shinier finish, you can apply a small amount of shine serum or hair oil to the ends of your hair to add a subtle sheen.
4. Set with Hairspray:
To ensure your waves stay in place throughout the day or night, lightly mist your hair with a flexible hold hairspray. This will provide additional hold without making your hair feel stiff or unnatural.
Picture Courtesy: Freepik
Step 5: Final Touches
1. Personalize and Adjust:
Take a moment to personalize your look by adjusting the waves to your liking. You can use your fingers to gently reshape and reposition the waves to achieve the perfect, effortless look for your hair.
2. Accessorize (Optional):
If desired, enhance your water-wave hair look with accessories such as hairpins, clips, or a headband to add a touch of flair and style.
Styling Tips for the Water-Wave Hair Look
Now that you’ve achieved the water-wave hair look, let’s explore some styling tips to make the most of this fabulous hairstyle:
1. Experiment with Parting:
The water-wave hair look can be styled with a middle part, a deep side part, or even no part at all. Experiment with different parting options to find what flatters your face shape and personal style.
Picture Courtesy: Freepik
2. Play with Hair Length:
Water waves can look stunning on various hair lengths, from short to long. Tailor the wave size and pattern to your hair length for the most flattering and natural appearance.
3. Enhance Texture:
If you have naturally straight hair and want to enhance the texture of your waves, use a sea salt spray or texturizing product before curling. This will help your waves hold better and look more natural.
4. Refresh Waves:
If your waves start to lose their shape or volume throughout the day, you can refresh them by lightly scrunching your hair with damp hands or by using a bit of texturizing spray.
5. Vary Wave Intensity:
Adjust the intensity of the waves based on your preference. For a more subtle water-wave look, use a larger curling wand and create looser curls. For a more defined wave, use a smaller wand and tighter curls.
6. Maintain Hair Health:
Healthy hair enhances any hairstyle. Maintain your hair’s health by regularly trimming split ends, deep conditioning, and using products that promote shine and manageability.
Additional Tips and Tricks for the Perfect Water-Wave Hair Look
To further enhance and perfect your water-wave hair look, consider these additional tips and tricks that can take your waves to the next level:
1. Create S-Curve Waves:
For a more intricate and textured look, try creating S-curve waves. After wrapping a section of hair around the curling wand, twist the wand slightly as you pull the hair downward. This creates a subtle S-shaped wave.
2. Braid and Set:
If you have time, consider braiding your hair into loose braids after curling each section. Allow the braids to set for a while before releasing them. This technique can add more texture and a natural wave pattern.
Picture Courtesy: Freepik
3. Overnight Twists:
Achieve effortless waves overnight by twisting slightly damp hair into multiple buns or twists. Sleep on it, and in the morning, release the twists to reveal soft, natural waves.
4. Use Velcro Rollers:
After curling a section of hair, roll it up in a Velcro roller to set the wave while it cools. This can enhance the texture and volume of the waves.
Picture Courtesy: Freepik
5. Blow-Dry with Diffuser:
If you have naturally wavy hair, enhance your waves by blow-drying with a diffuser attachment. This will define your natural waves and create a more voluminous look.
6. Experiment with Products:
Tailor the products you use to your hair type. If you have fine hair, opt for lighter texturizing sprays. For thicker hair, use more substantial products that provide hold and definition.
By incorporating these additional tips and tricks into your styling routine, you can achieve a truly customized and stunning water-wave hair look that suits your unique preferences and enhances your natural beauty.
Frequently Asked Questions (FAQs)
Q1: Can I achieve the water-wave hair look without using heat styling tools?
Yes, you can achieve a similar look without using heat styling tools. After washing your hair, twist small sections and let them air-dry to create a natural wave pattern. You can also try braiding your hair or using various styling products to enhance and define your natural waves.
Picture Courtesy: Freepik
Q2: How can I make my waves last longer?
To make your waves last longer, be sure to use a good quality texturizing spray or sea salt spray after curling. You can also secure the waves with bobby pins while they cool to help set the pattern. Additionally, avoid touching or brushing your waves too much to maintain their shape throughout the day.
Q3: Will the water-wave hair look suit my face shape?
The water-wave hair look is versatile and generally complements most face shapes. The soft, natural waves add a gentle frame to your face and can enhance your features. Experiment with different partings and lengths to find what flatters your specific face shape the most.
Q4: Can I achieve this look on short hair?
Absolutely! The water-wave hair look can be achieved on short hair as well. Use a smaller curling wand and focus on creating defined waves. Adjust the size of the sections and the intensity of the curls to suit the length of your hair.
The water-wave hair look is a timeless and beautiful hairstyle that can effortlessly elevate your overall appearance. By following the steps outlined in this guide and incorporating the additional tips provided, you’ll be able to achieve those relaxed, natural waves and style them to perfection. Embrace the versatility of the water-wave hair look and let your hair cascade in beautiful, carefree waves, exuding a sense of elegance and confidence wherever you go.

Aparna Iyer, a seasoned fashion connoisseur with an innate ability to blend timeless elegance with contemporary trends. Aparna’s distinctive perspective emanates from her rich background in design theory and her keen eye for avant-garde aesthetics. With an impeccable taste for all things chic, her articles promise to be a captivating journey through the ever-evolving world of fashion, offering readers a glimpse into the latest styles, beauty secrets, and the art of self-expression. Join Aparna in unraveling the threads of style, as she brings you closer to the pulse of the fashion realm.