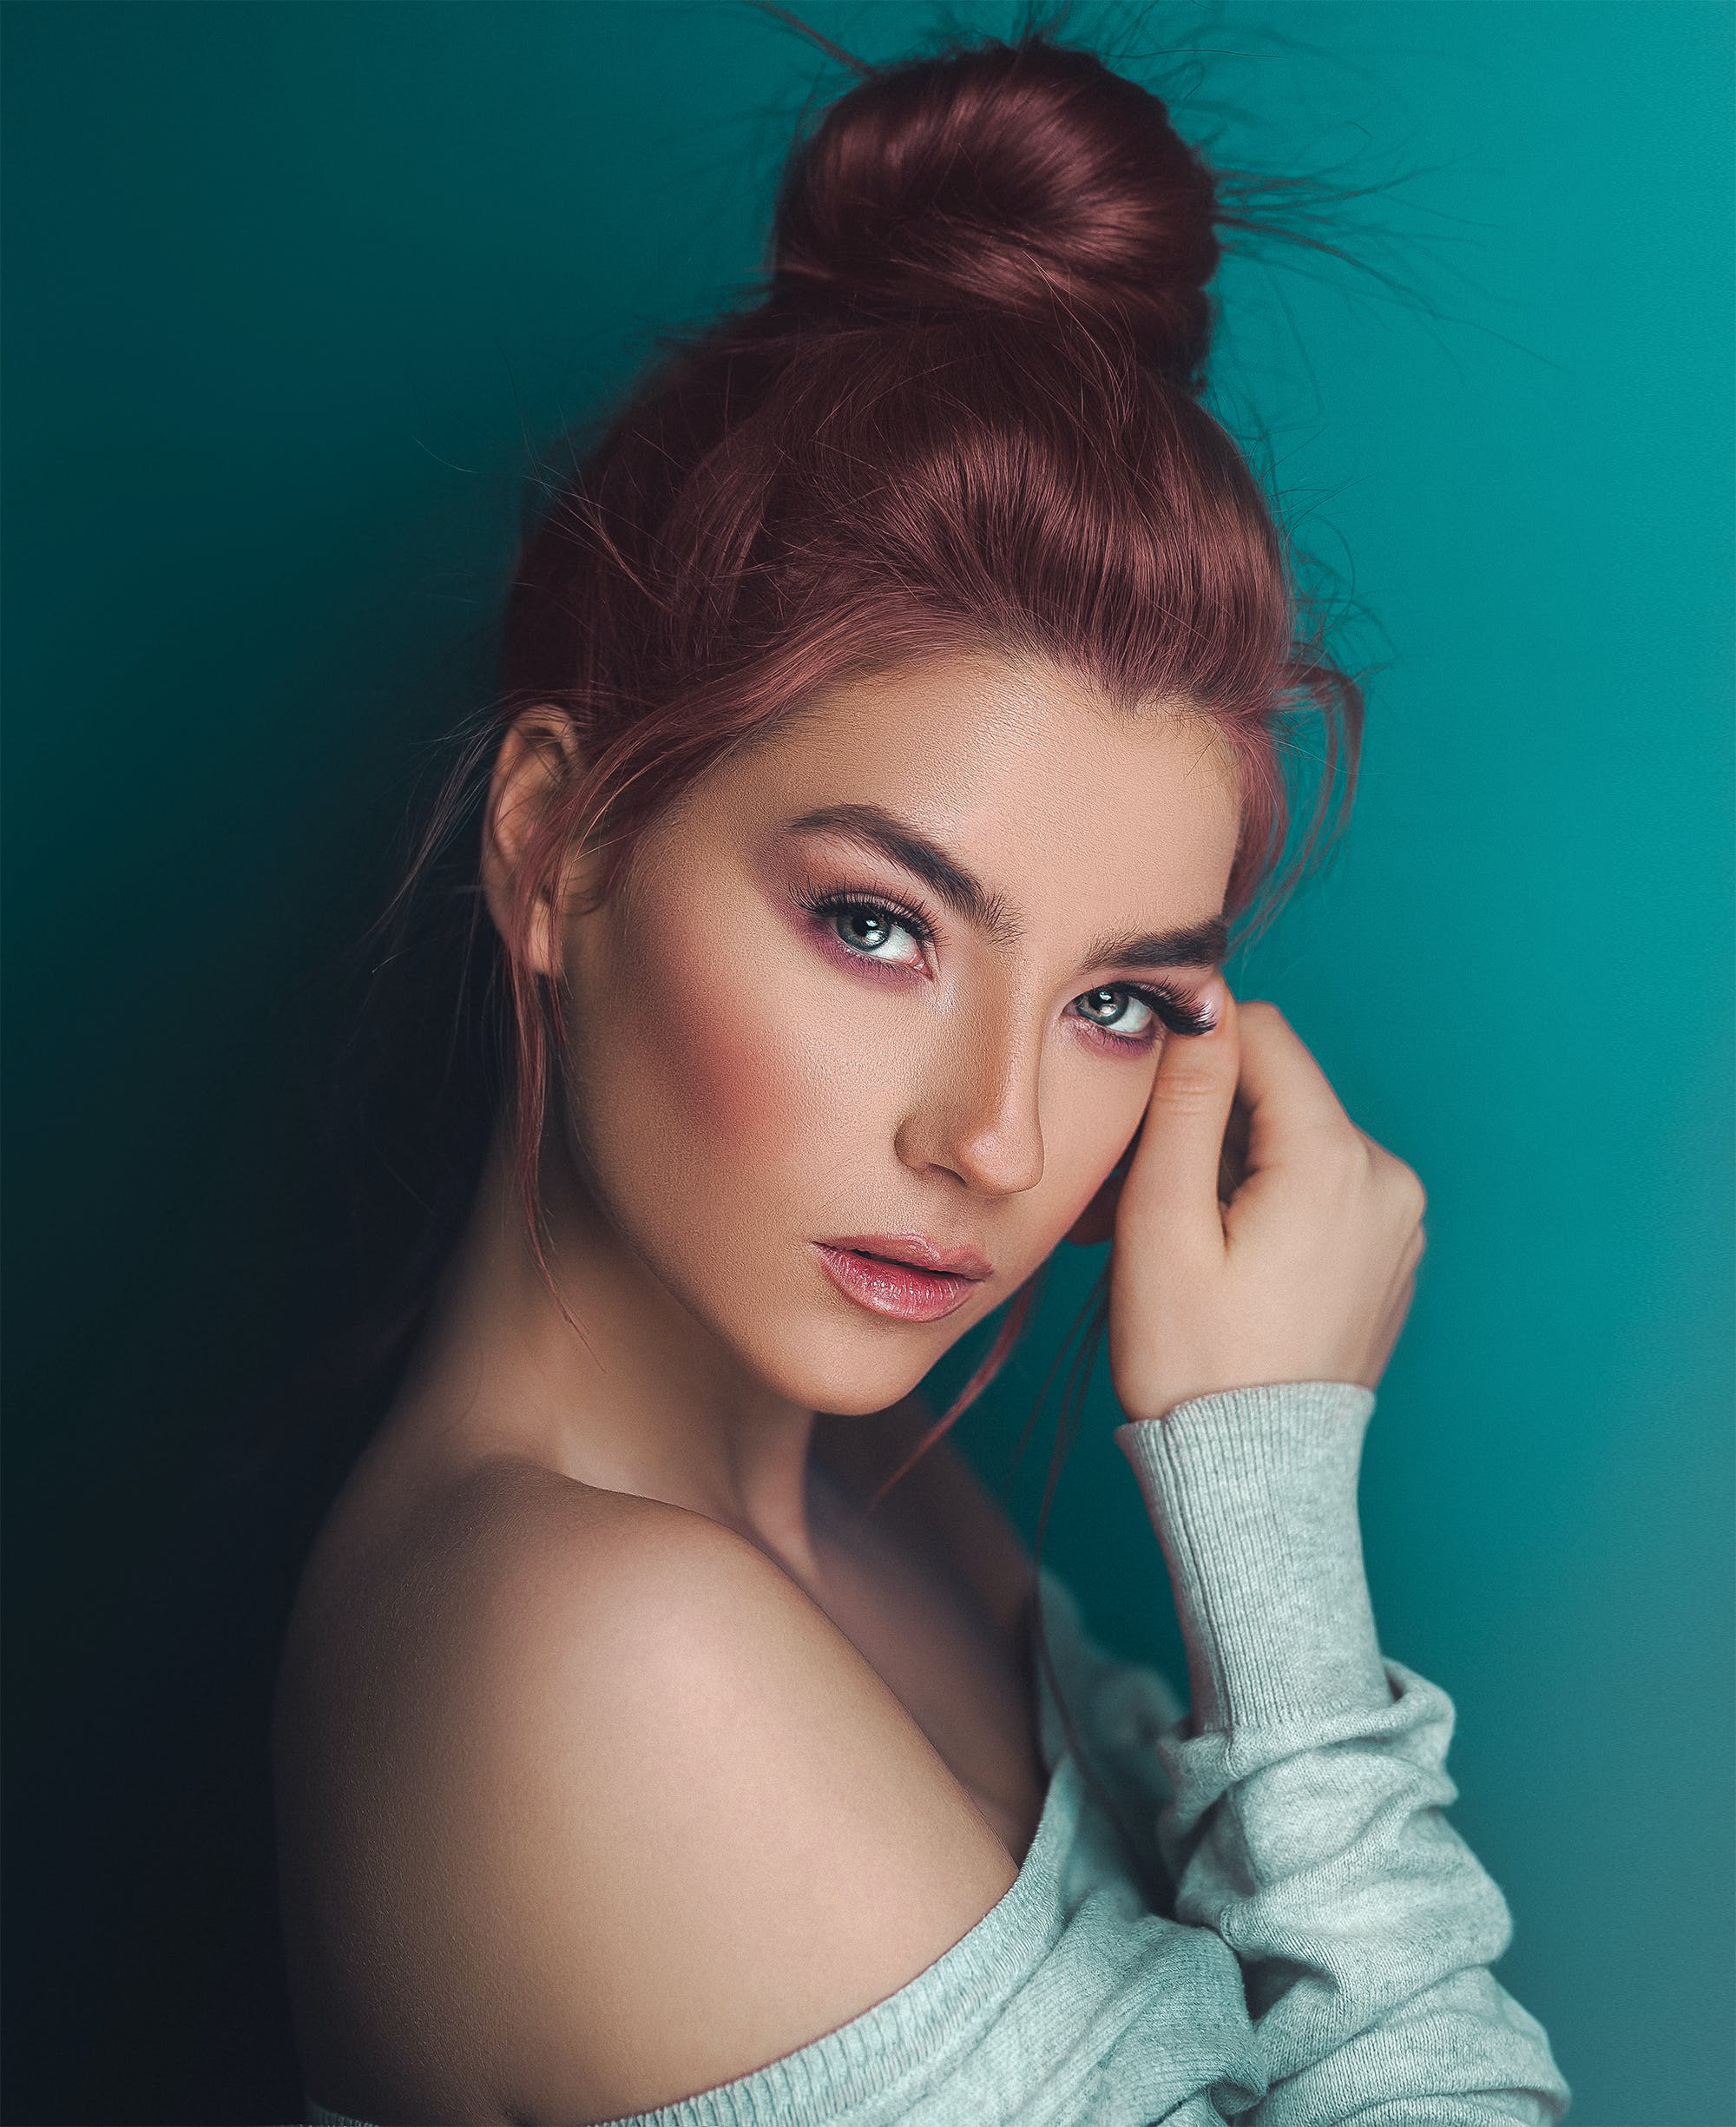
Looking for all-day skin-glow-preserving natural makeup? Discover how to apply makeup with these fundamental beauty tips. This breakdown of makeup techniques can assist you in achieving a stunning appearance that you can be proud of, from using gel eyeliner to applying liquid foundation.
What is the correct Makeup order?
We are aware that you have viewed countless online makeup tutorials, watched your favourite celebrities apply their makeup with their preferred products, and perhaps even tried it yourself. But you can never have too many helpful resources at your disposal to support you on your quest for beauty!
Even though there are numerous ways to apply makeup and numerous makeup processes to follow, we have devised a strategy for you to follow that will help you obtain a fresh and stunning appearance every time. Allow this makeup step-by-step technique to serve as a foundation for applying makeup.
We hope that this guide increases your self-assurance and moves you one step closer to getting the desired cosmetic look. Read on to discover more about our detailed beauty instructions and to begin creating your own masterpiece.
Step-by-Step Guide to Applying Makeup
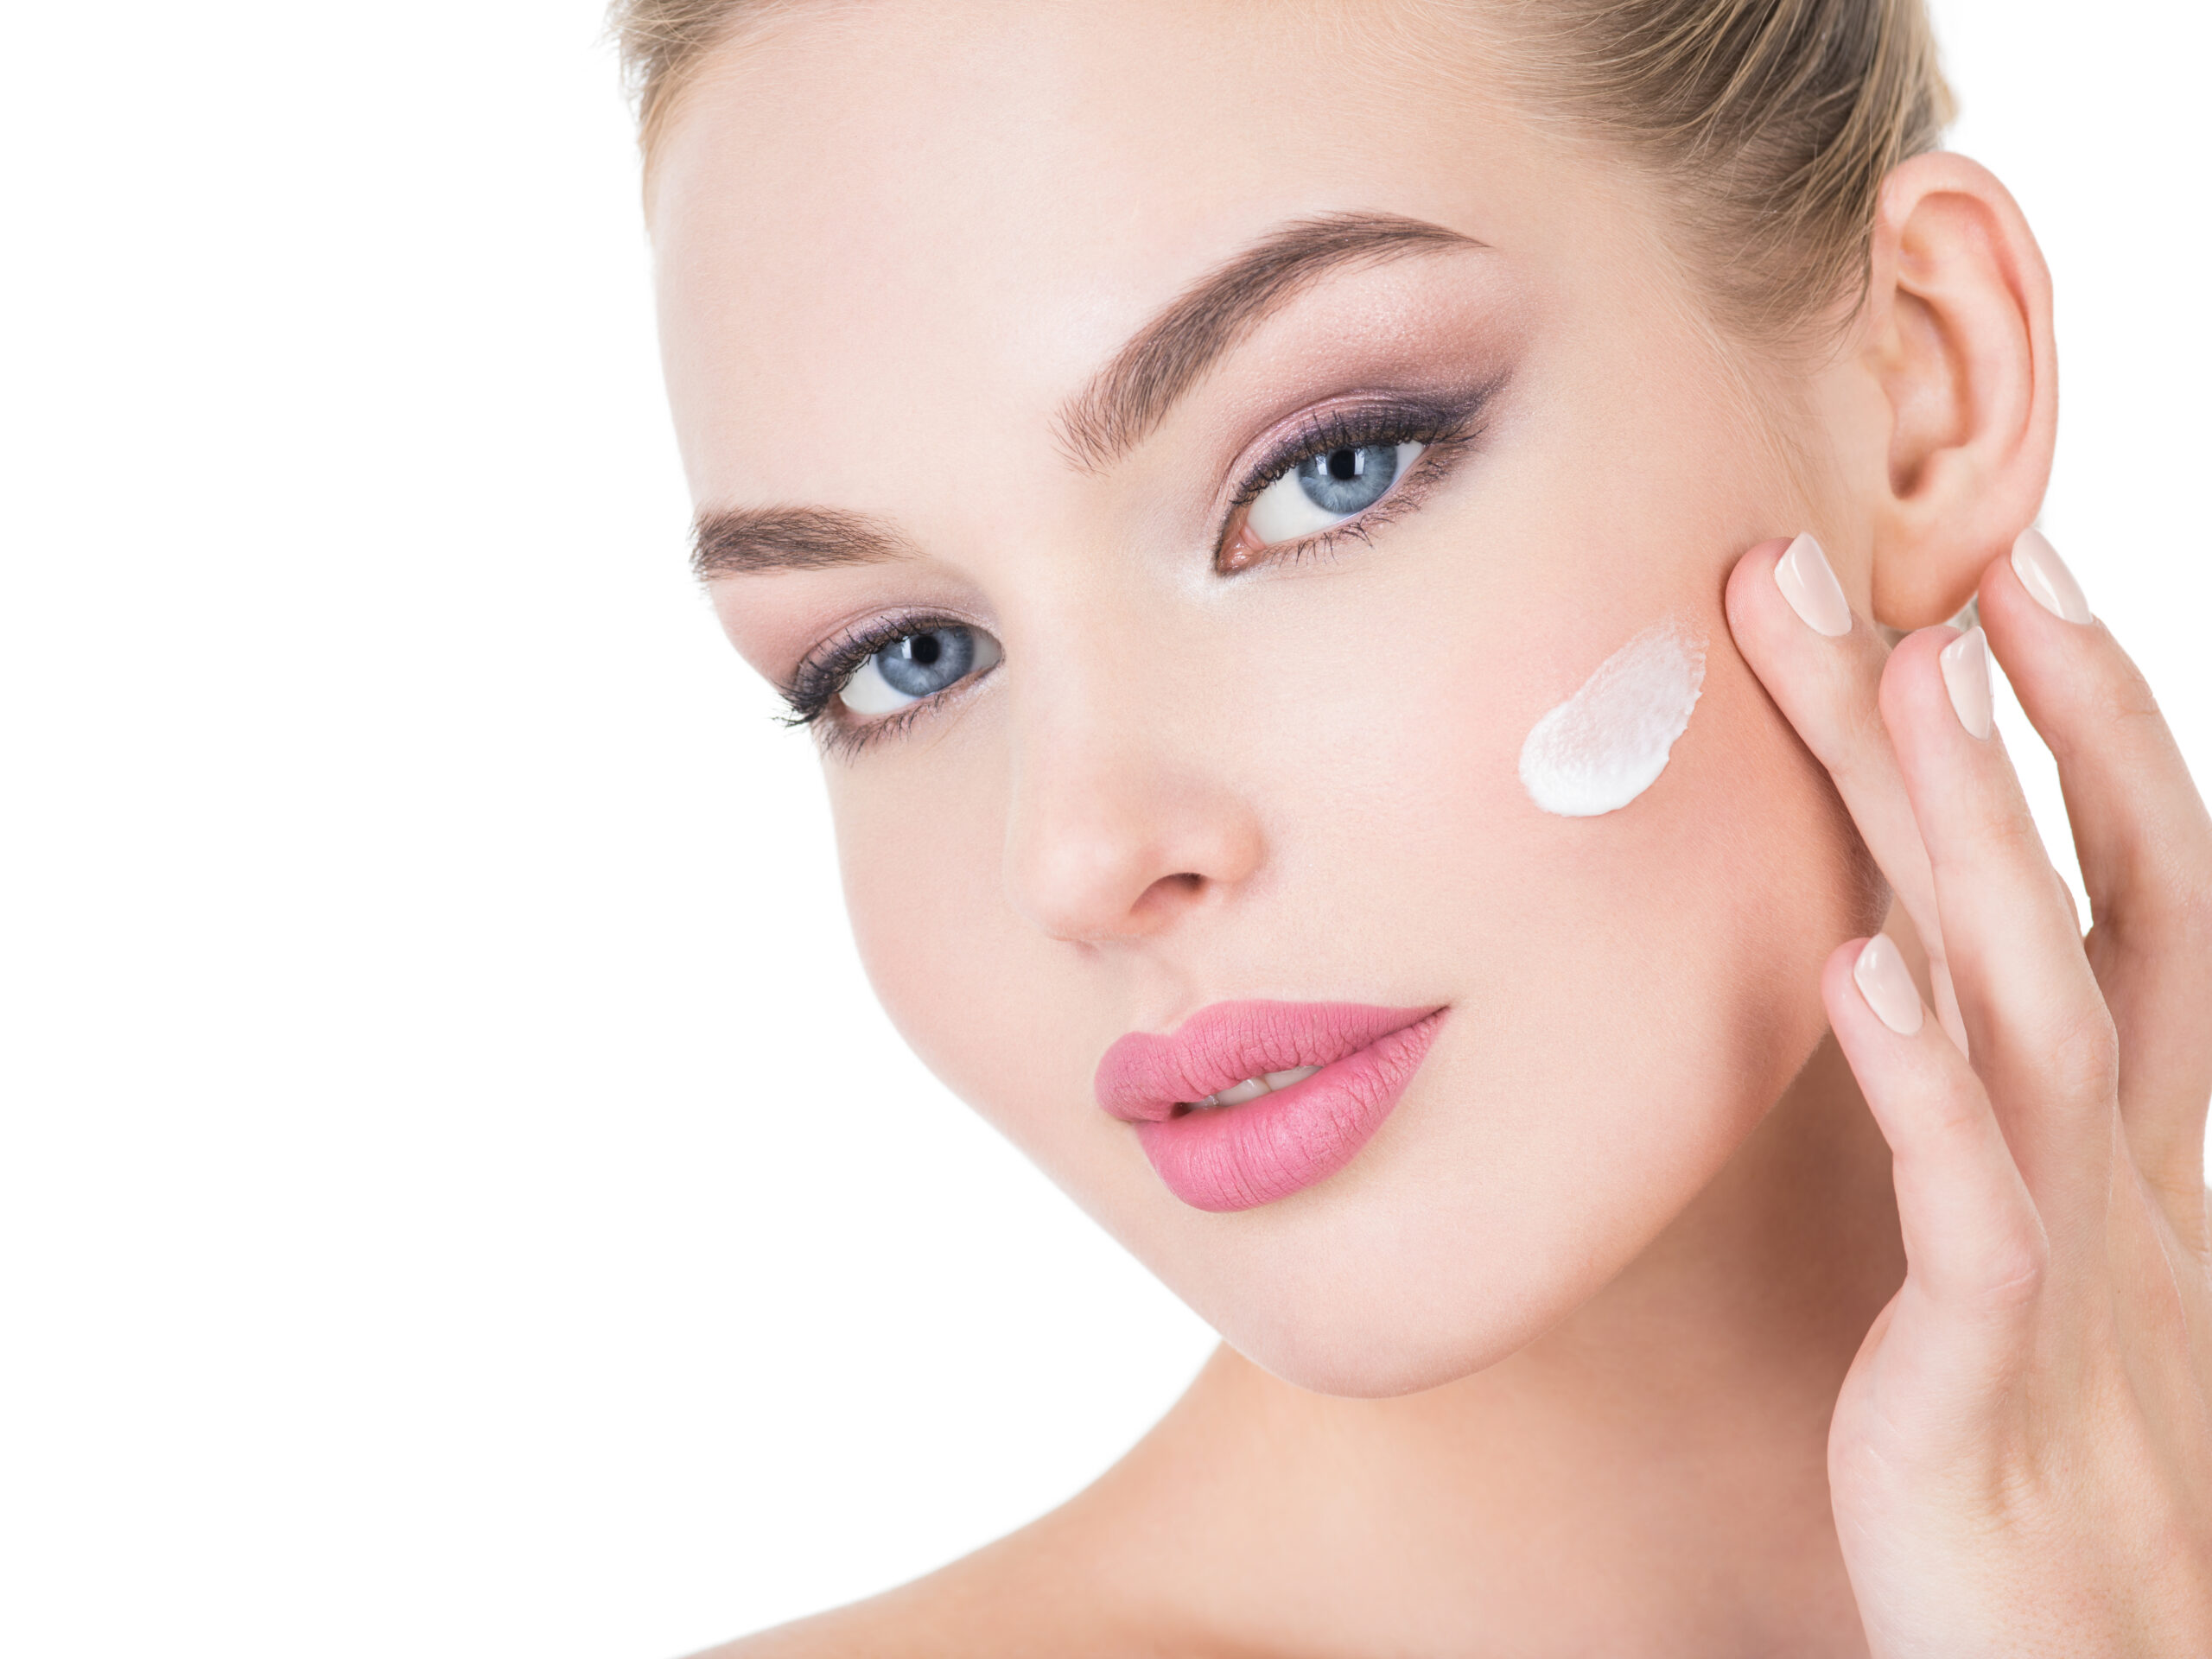
Step 1:Apply with a moisturiser.

Before applying makeup, ensure you have finished your skin care routine. To build a good base, apply a moisturiser or serum to your skin. This will keep your skin hydrated and firm, as well as aid in the effective application of your makeup. If your skin is not sufficiently moisturised, the foundation will appear cakey and heavy and will be deposited on the dry regions of your face.
Step 2: Use Primer

Apply primer to your face now that your skin is completely moisturised. Primer is a crucial initial step, whether you’re doing a full face of makeup or just a thin application of foundation. It will last longer if you wear primer underneath your makeup.
So, just what is a primer? Consider primer as a base for your foundation or face makeup, allowing it to go on smoother and last longer. Primers are silky smooth gels and creams that fill in wrinkles and pores on your face while smoothing out uneven textures and creating the perfect canvas for your makeup.
Primer serves as a barrier between your skin care and your makeup, preventing it from soaking into your pores. It makes your makeup look smooth and long-lasting, and it gives you an airbrushed effect. Fill up fine wrinkles and big pores with a primer to create an even canvas for your makeup to glide easily and not look cakey.
Step 3: Apply Liquid Foundation to the Base

Finding the right foundation hue for your skin is priority number one when it comes to foundation. The perfect foundation colour can make all the difference. So, how do you go about it? Colours of foundation should be tested against your jawline. If the foundation evaporates without blending after application, you’ve identified your true match. This may take some trial and error, but taking the time to select the proper shade is critical.
If you have oily skin, choose a foundation with a matte finish and shine control. Choose a dewy, moisturising foundation for dry skin. You should experiment with these goods to see what works best for you.
Step 4: Conceal Where You Need to

When you need light coverage over a broad area of your face, liquid concealer is the way to go. Liquid concealer is particularly useful for those who want to achieve a light finish, especially around the eyes and mouth.
Stick and compact concealers are ideal for providing additional coverage to smaller, more targeted regions of the face. It’s a good idea to buy two shades of concealer. One that matches your skin tone and can be used to conceal dark spots, pimples, and other facial blemishes The other should be lighter than your skin tone and can be used to draw attention to specific regions of your face or to bring clarity to your makeup look. Concealer is fantastic for making you look more alert and removing shadows and dark spots. Choose a shade two shades lighter than your foundation or natural skin tone. To make the concealer look natural, dab it on your skin with your fingertips or a beauty blender.
Step 5: Apply Foundation Powder

Applying foundation powder can be hard; too little and you’ll appear like you skipped the step entirely; too much and you’ll have the dreaded “cake look.” You’ve probably heard a lot of powder foundation tricks in your search for a beautiful complexion. Keep these suggestions in mind to achieve the ideal complexion.
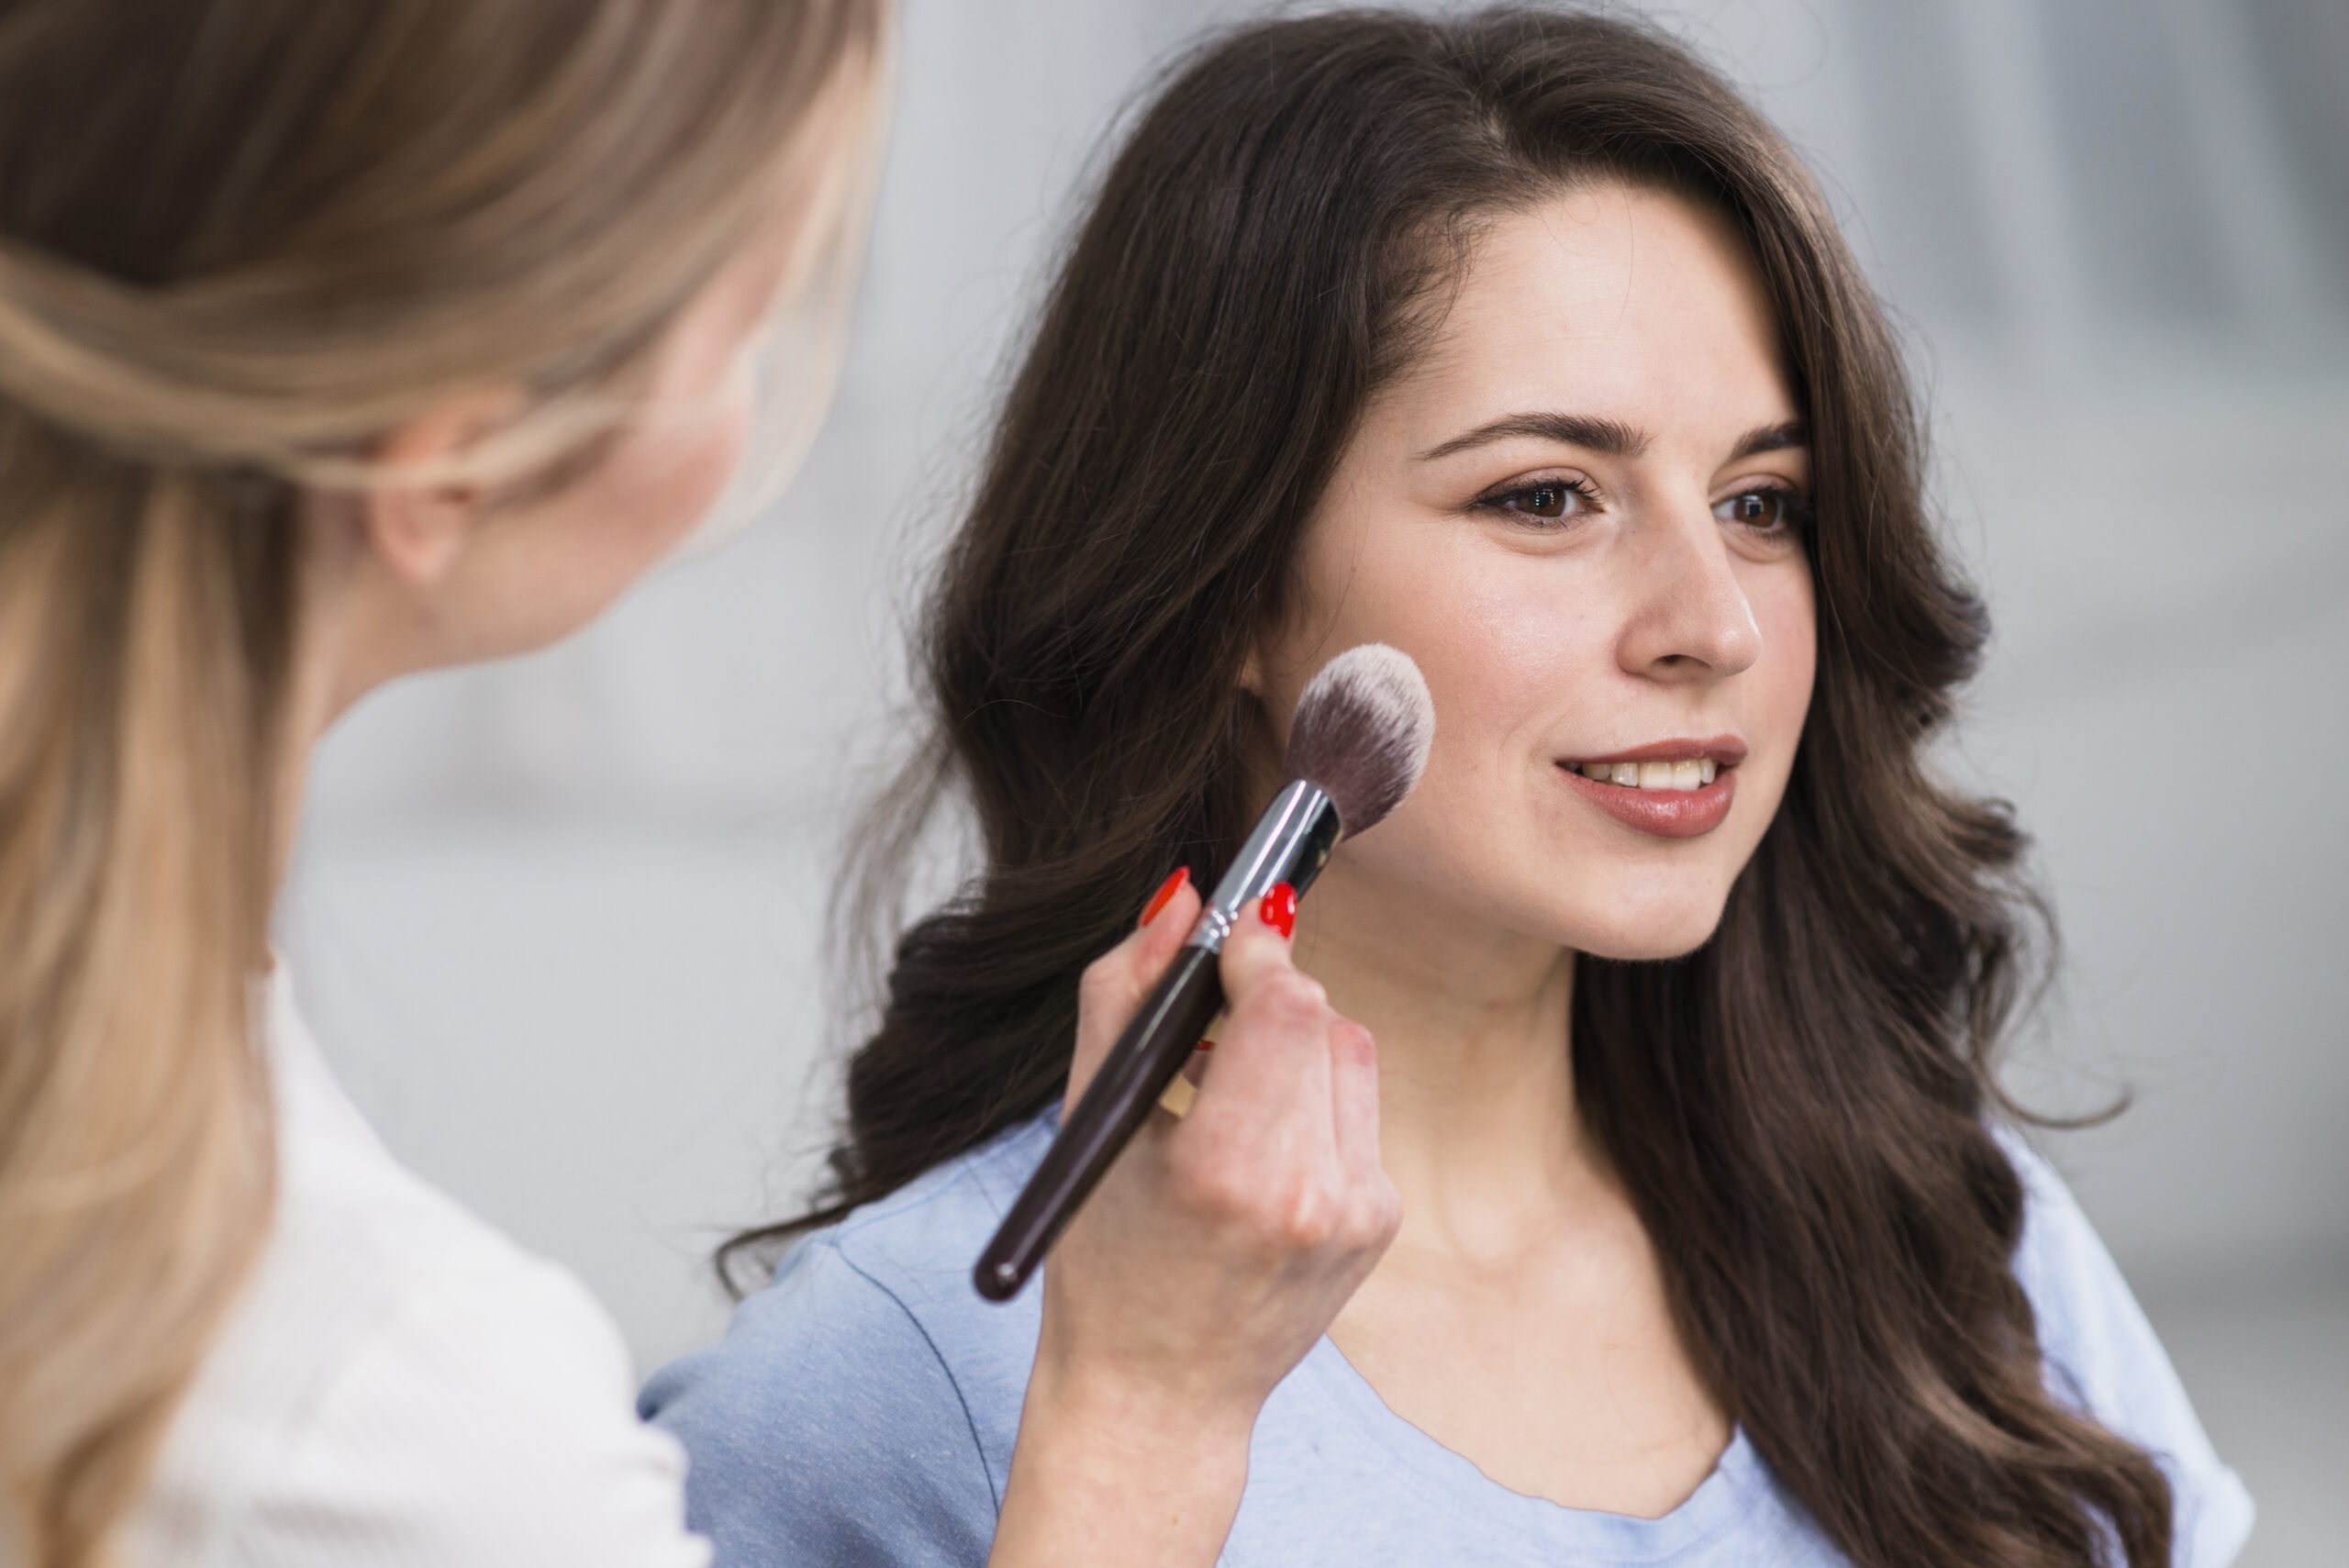
With a big, fluffy powder brush, start by lightly powdering your entire face. After pressing the bristles into the powder, sweep them across the skin in broad, arcing motions.
Apply a little more powder to skin areas that need it (the centre of your face is typically where the red and oily areas are). This step involves dipping your brush into the powder and pressing it firmly into the skin; doing so will help the powder penetrate pores and wrinkles for a smoother texture.
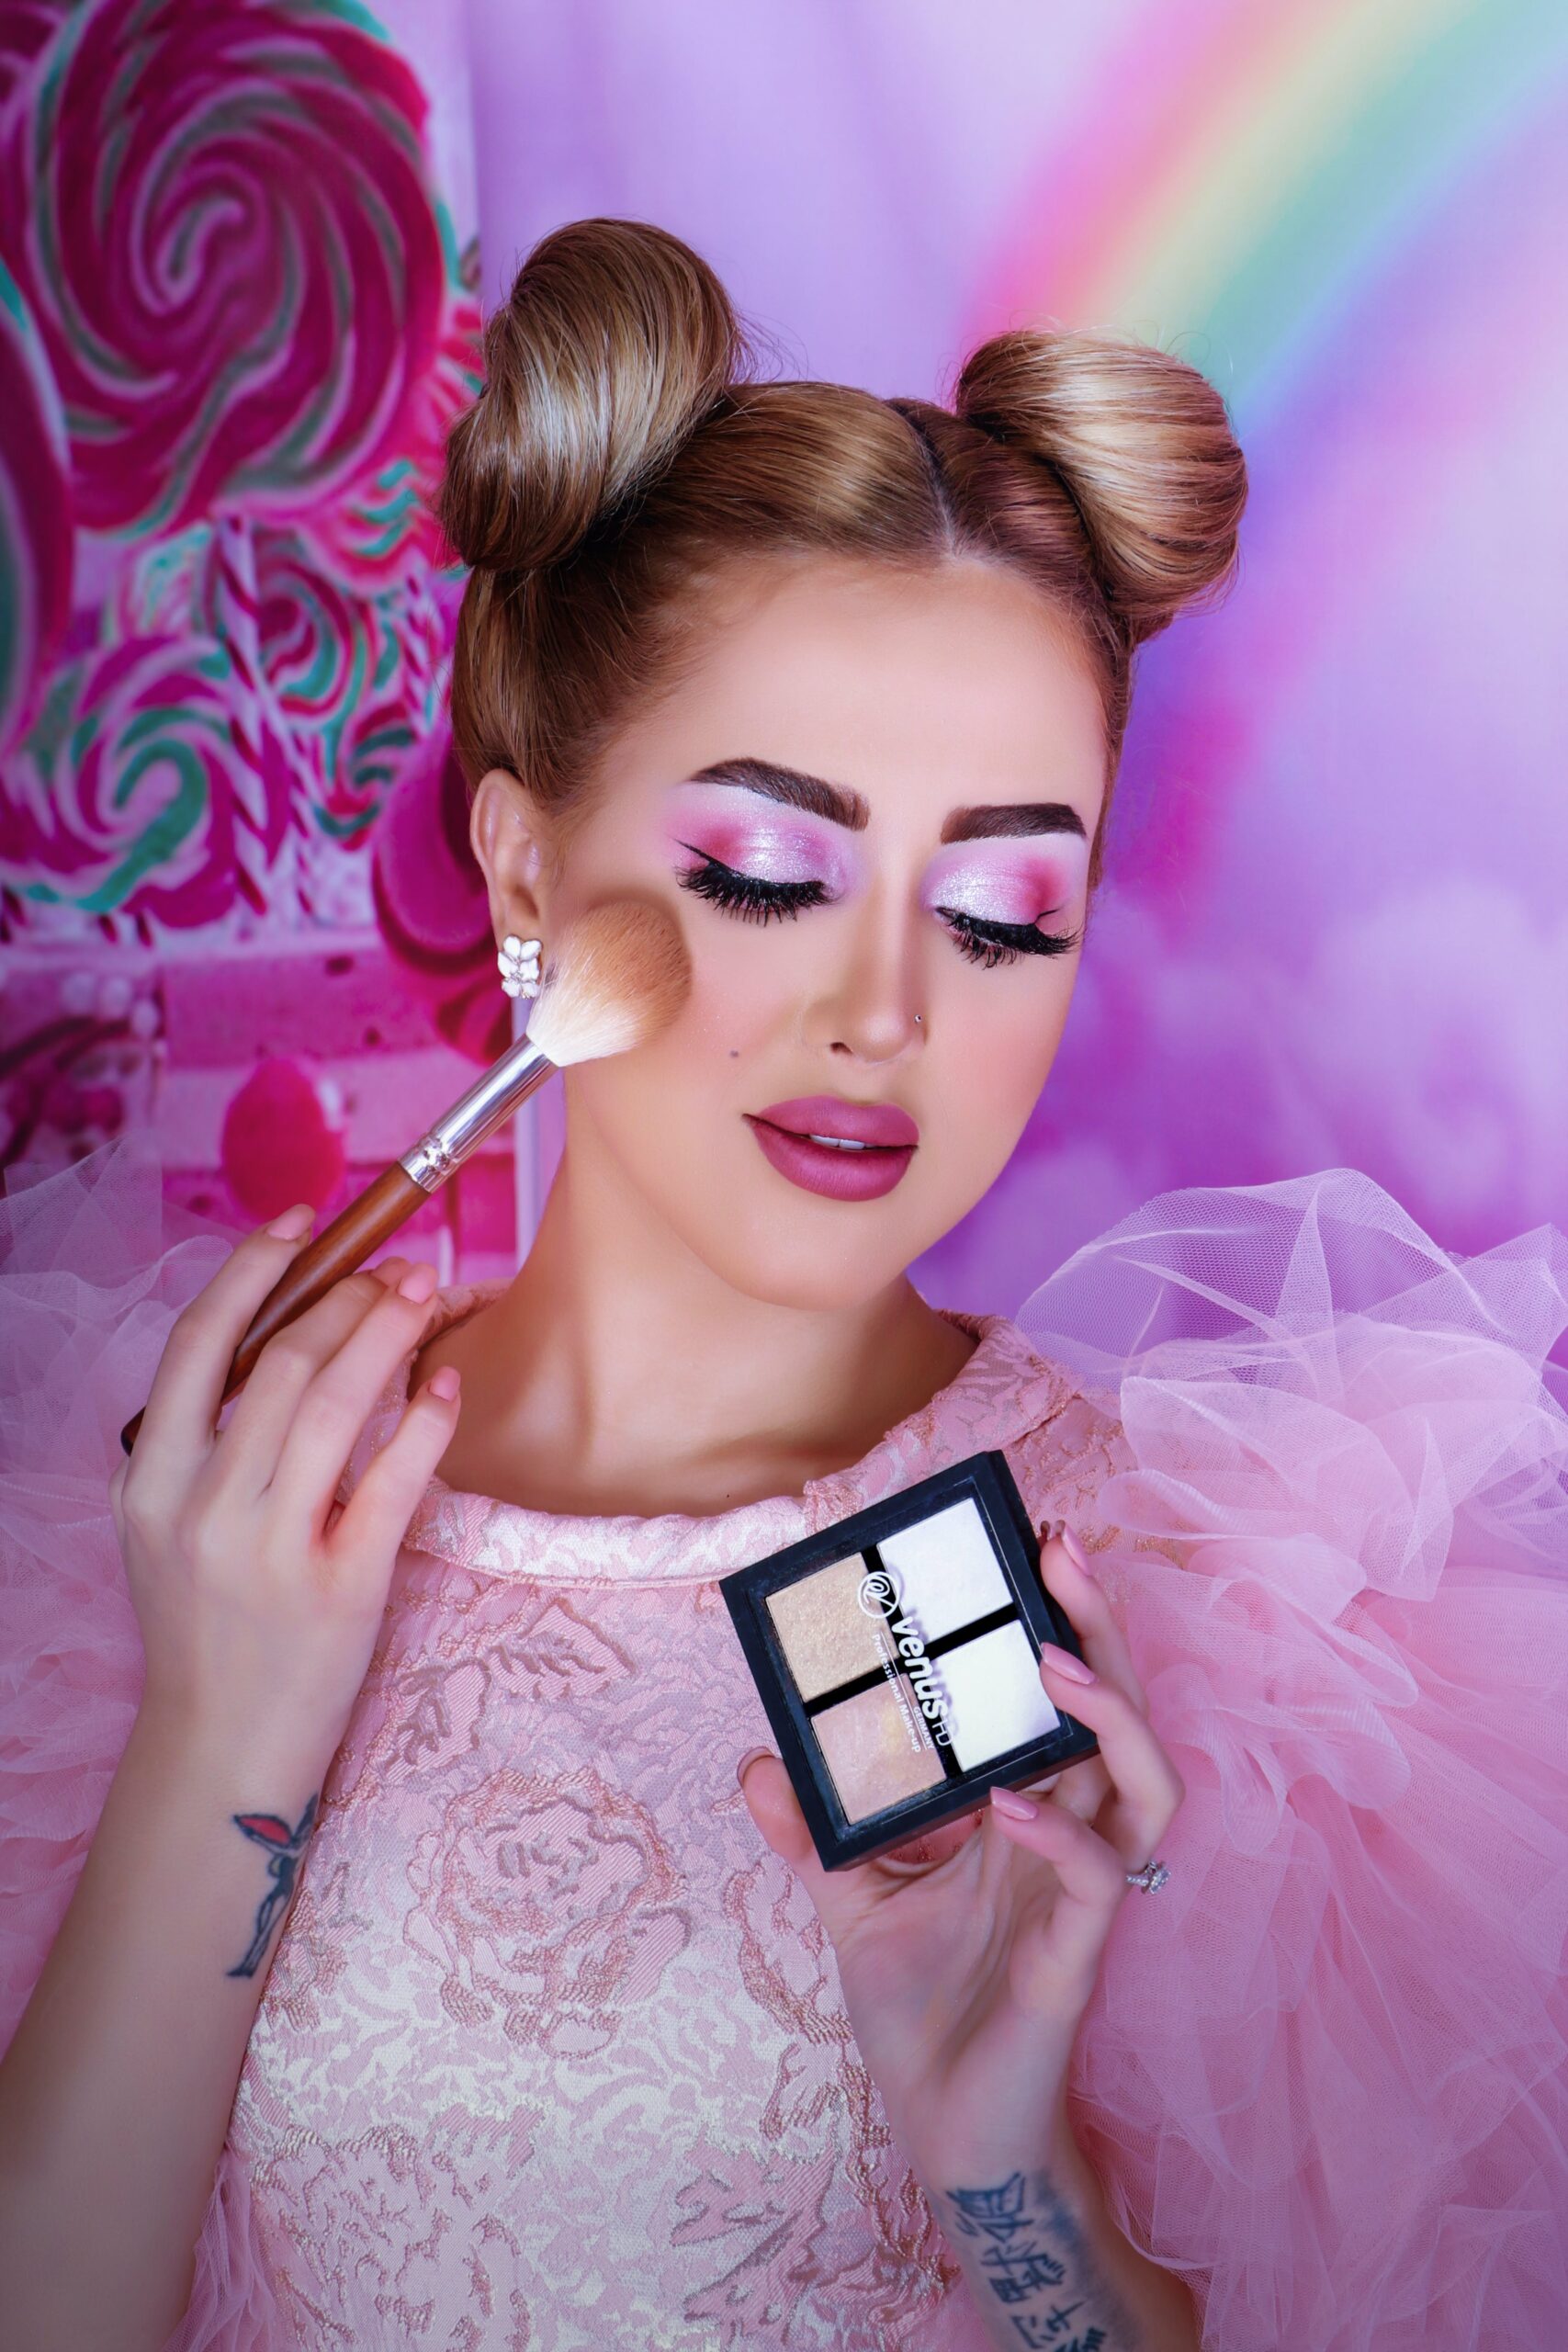
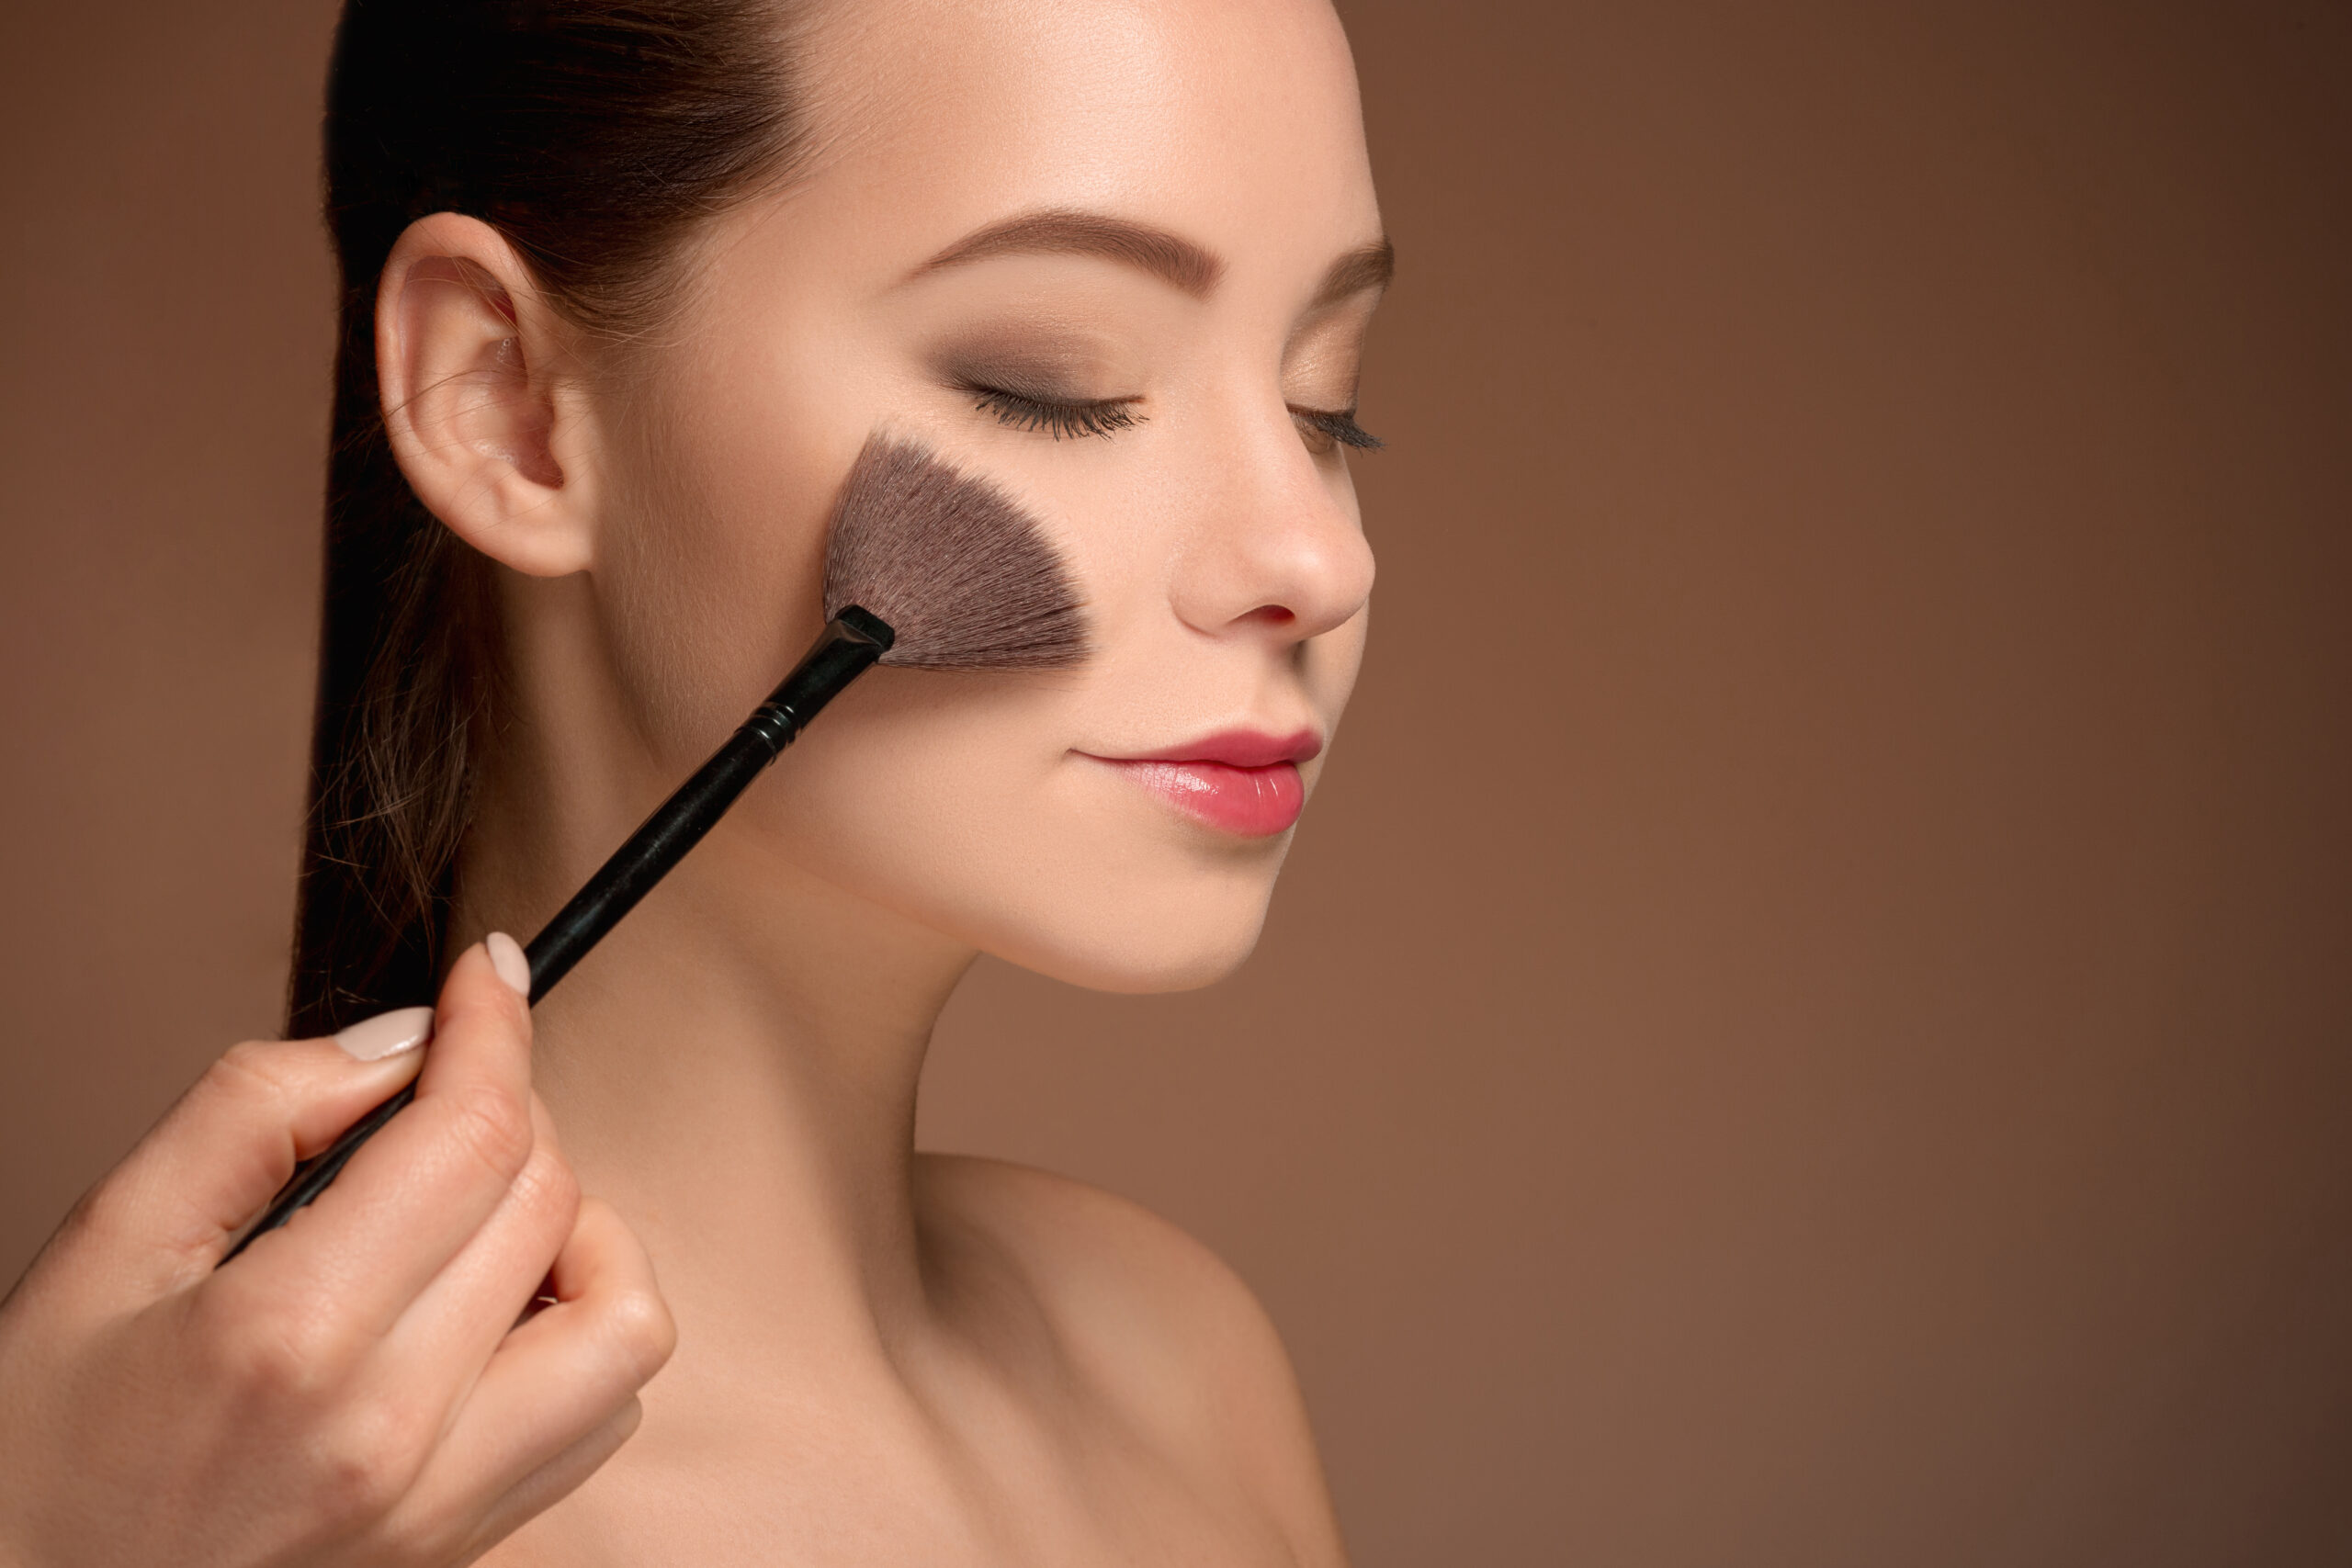
Step 6: Bronzer

Bronzer can give your complexion that sun-kissed look. Sweep a golden tan across your face with a specialty bronzer brush. Bronzer brushes are made with more bristles that are much more tightly packed together, ensuring you get the most out of your colourful bronzer with each and every stroke.
Apply your bronzer in the shape of a “3” on both sides of your face once you’ve found the perfect shade. Begin with your brow, then sweep the bronzer down your cheekbones and across your jawline, all the way to your chin. Don’t forget to integrate it into your neck. Repeat on the other side.
Step 7: ‘Blush’ It Up

In terms of makeup elegance, rosy cheeks have long been a standard. Blush can be the solution if you wish to brighten and add colour to your skin. To get the most out of each blush sweep, apply your blush with a dense brush that has many bristles.
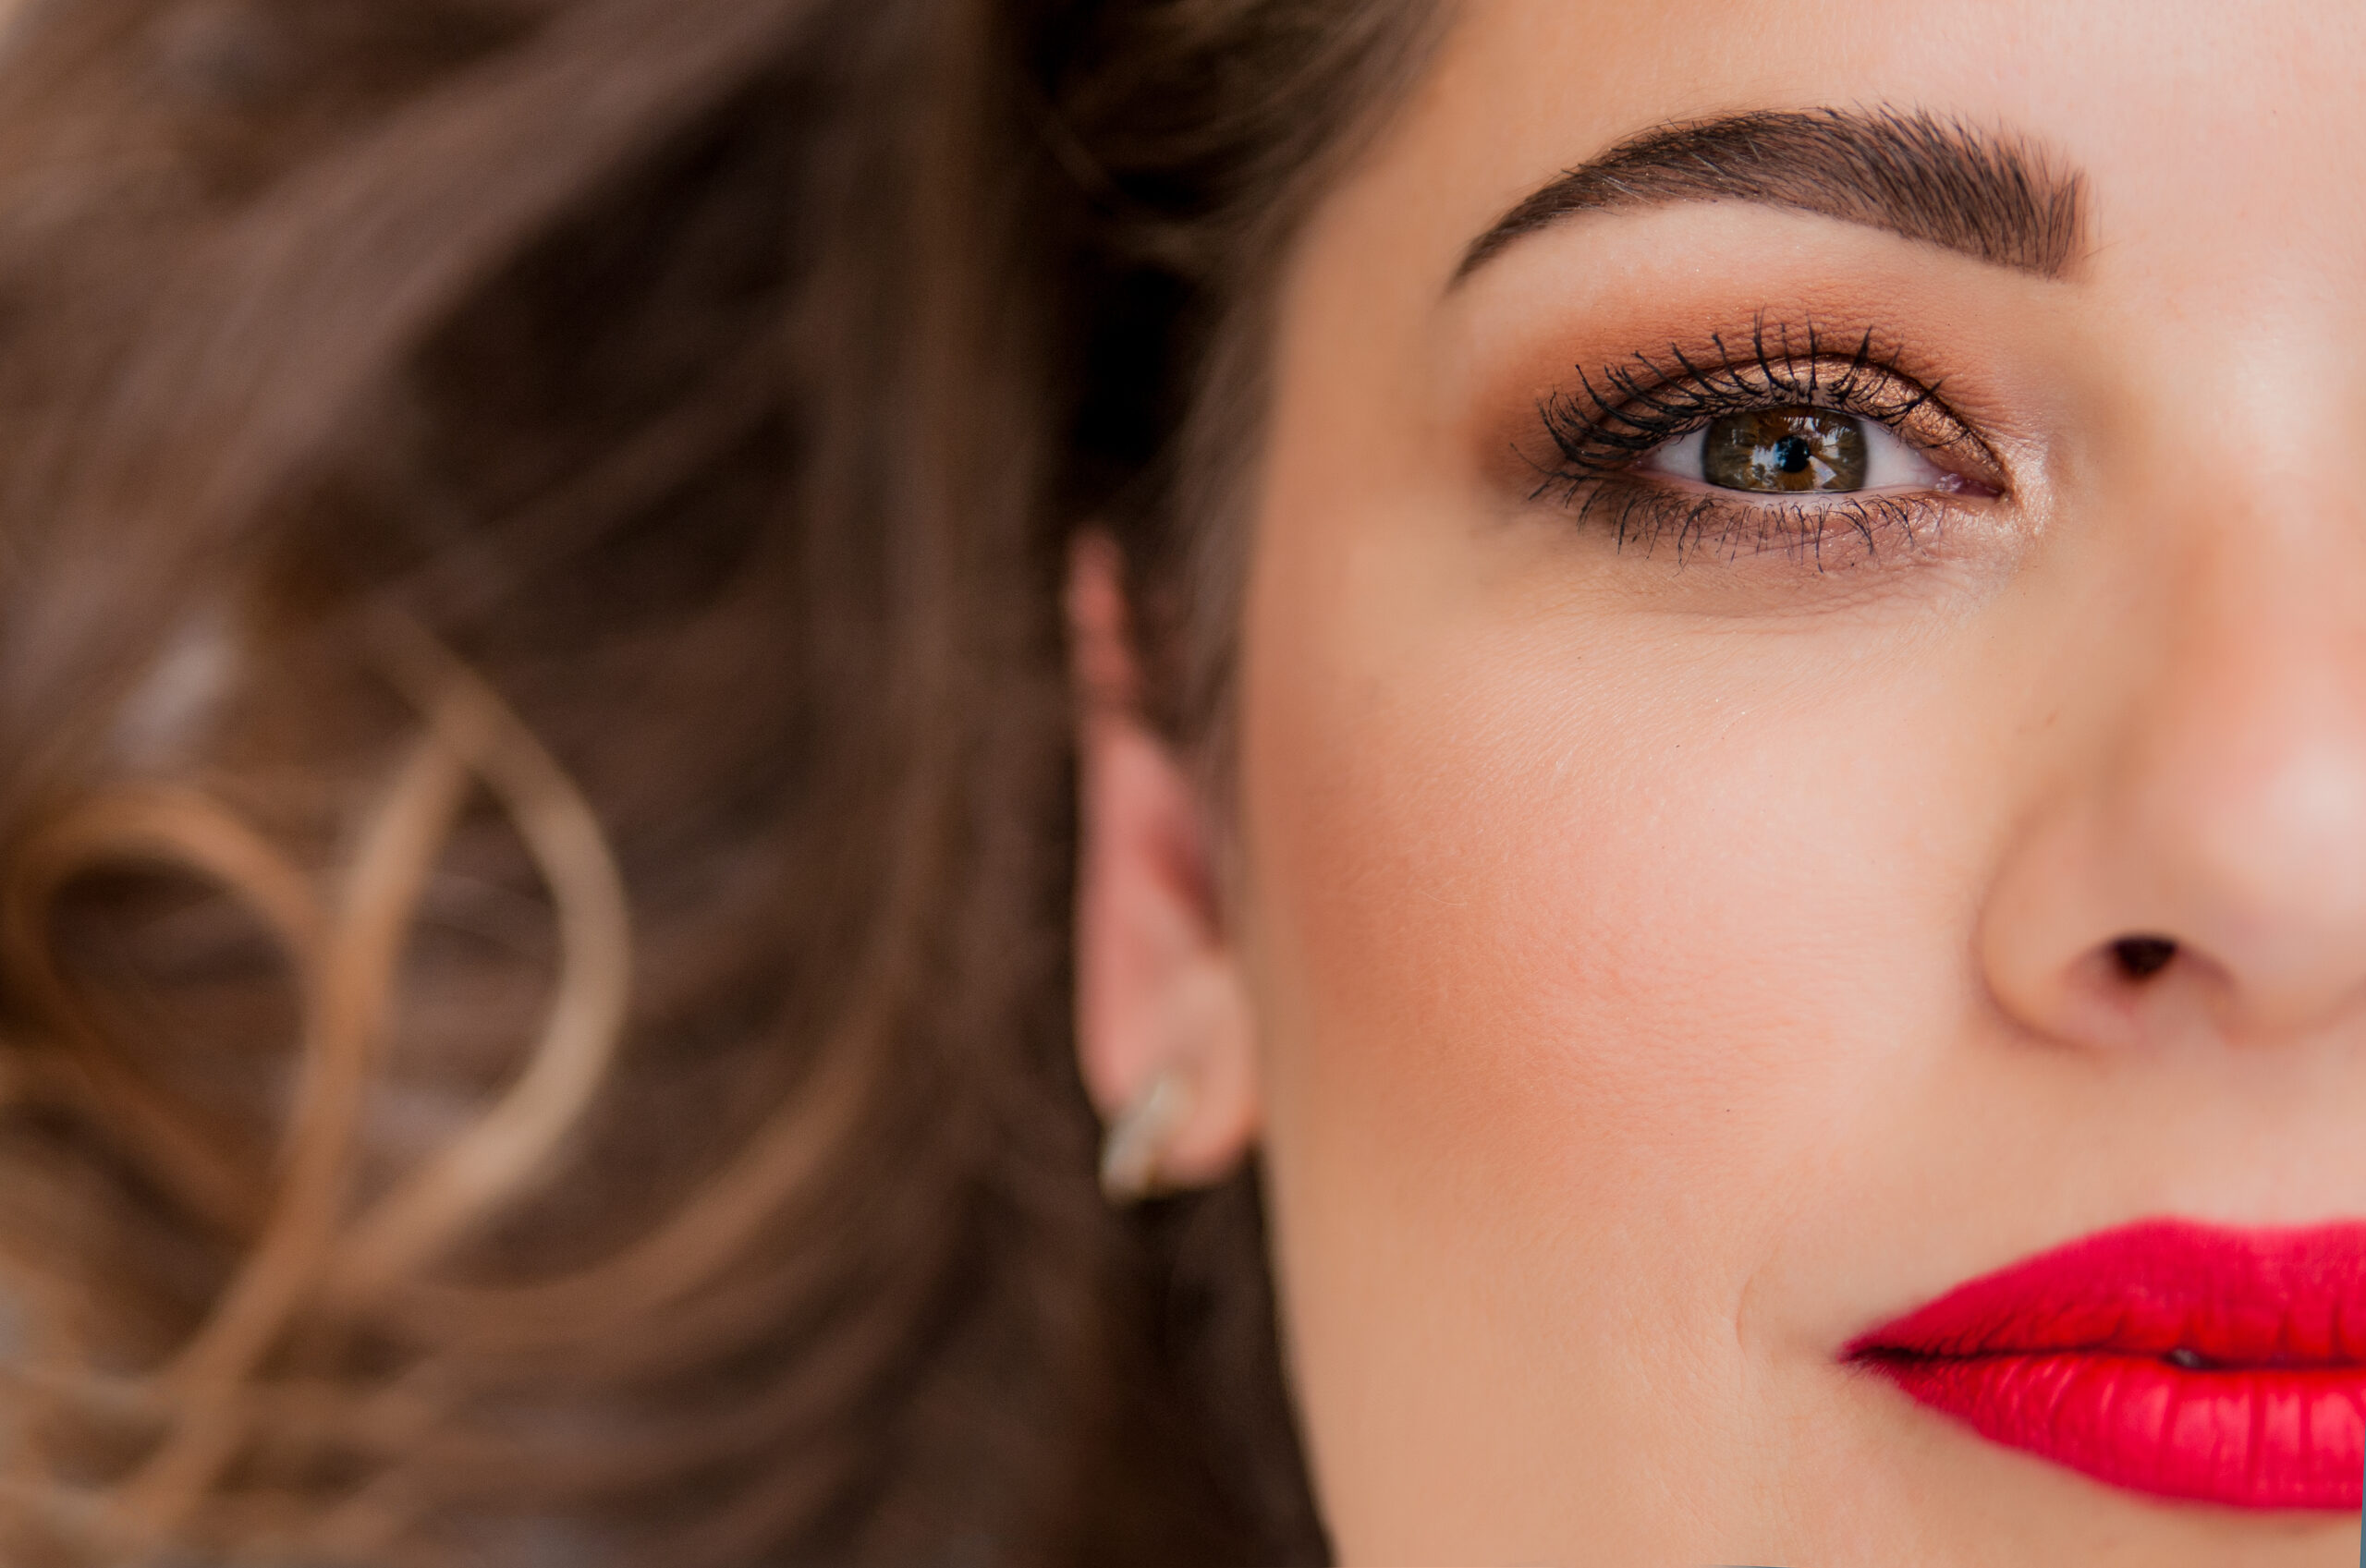
Step 8: Fill in your Eyebrows

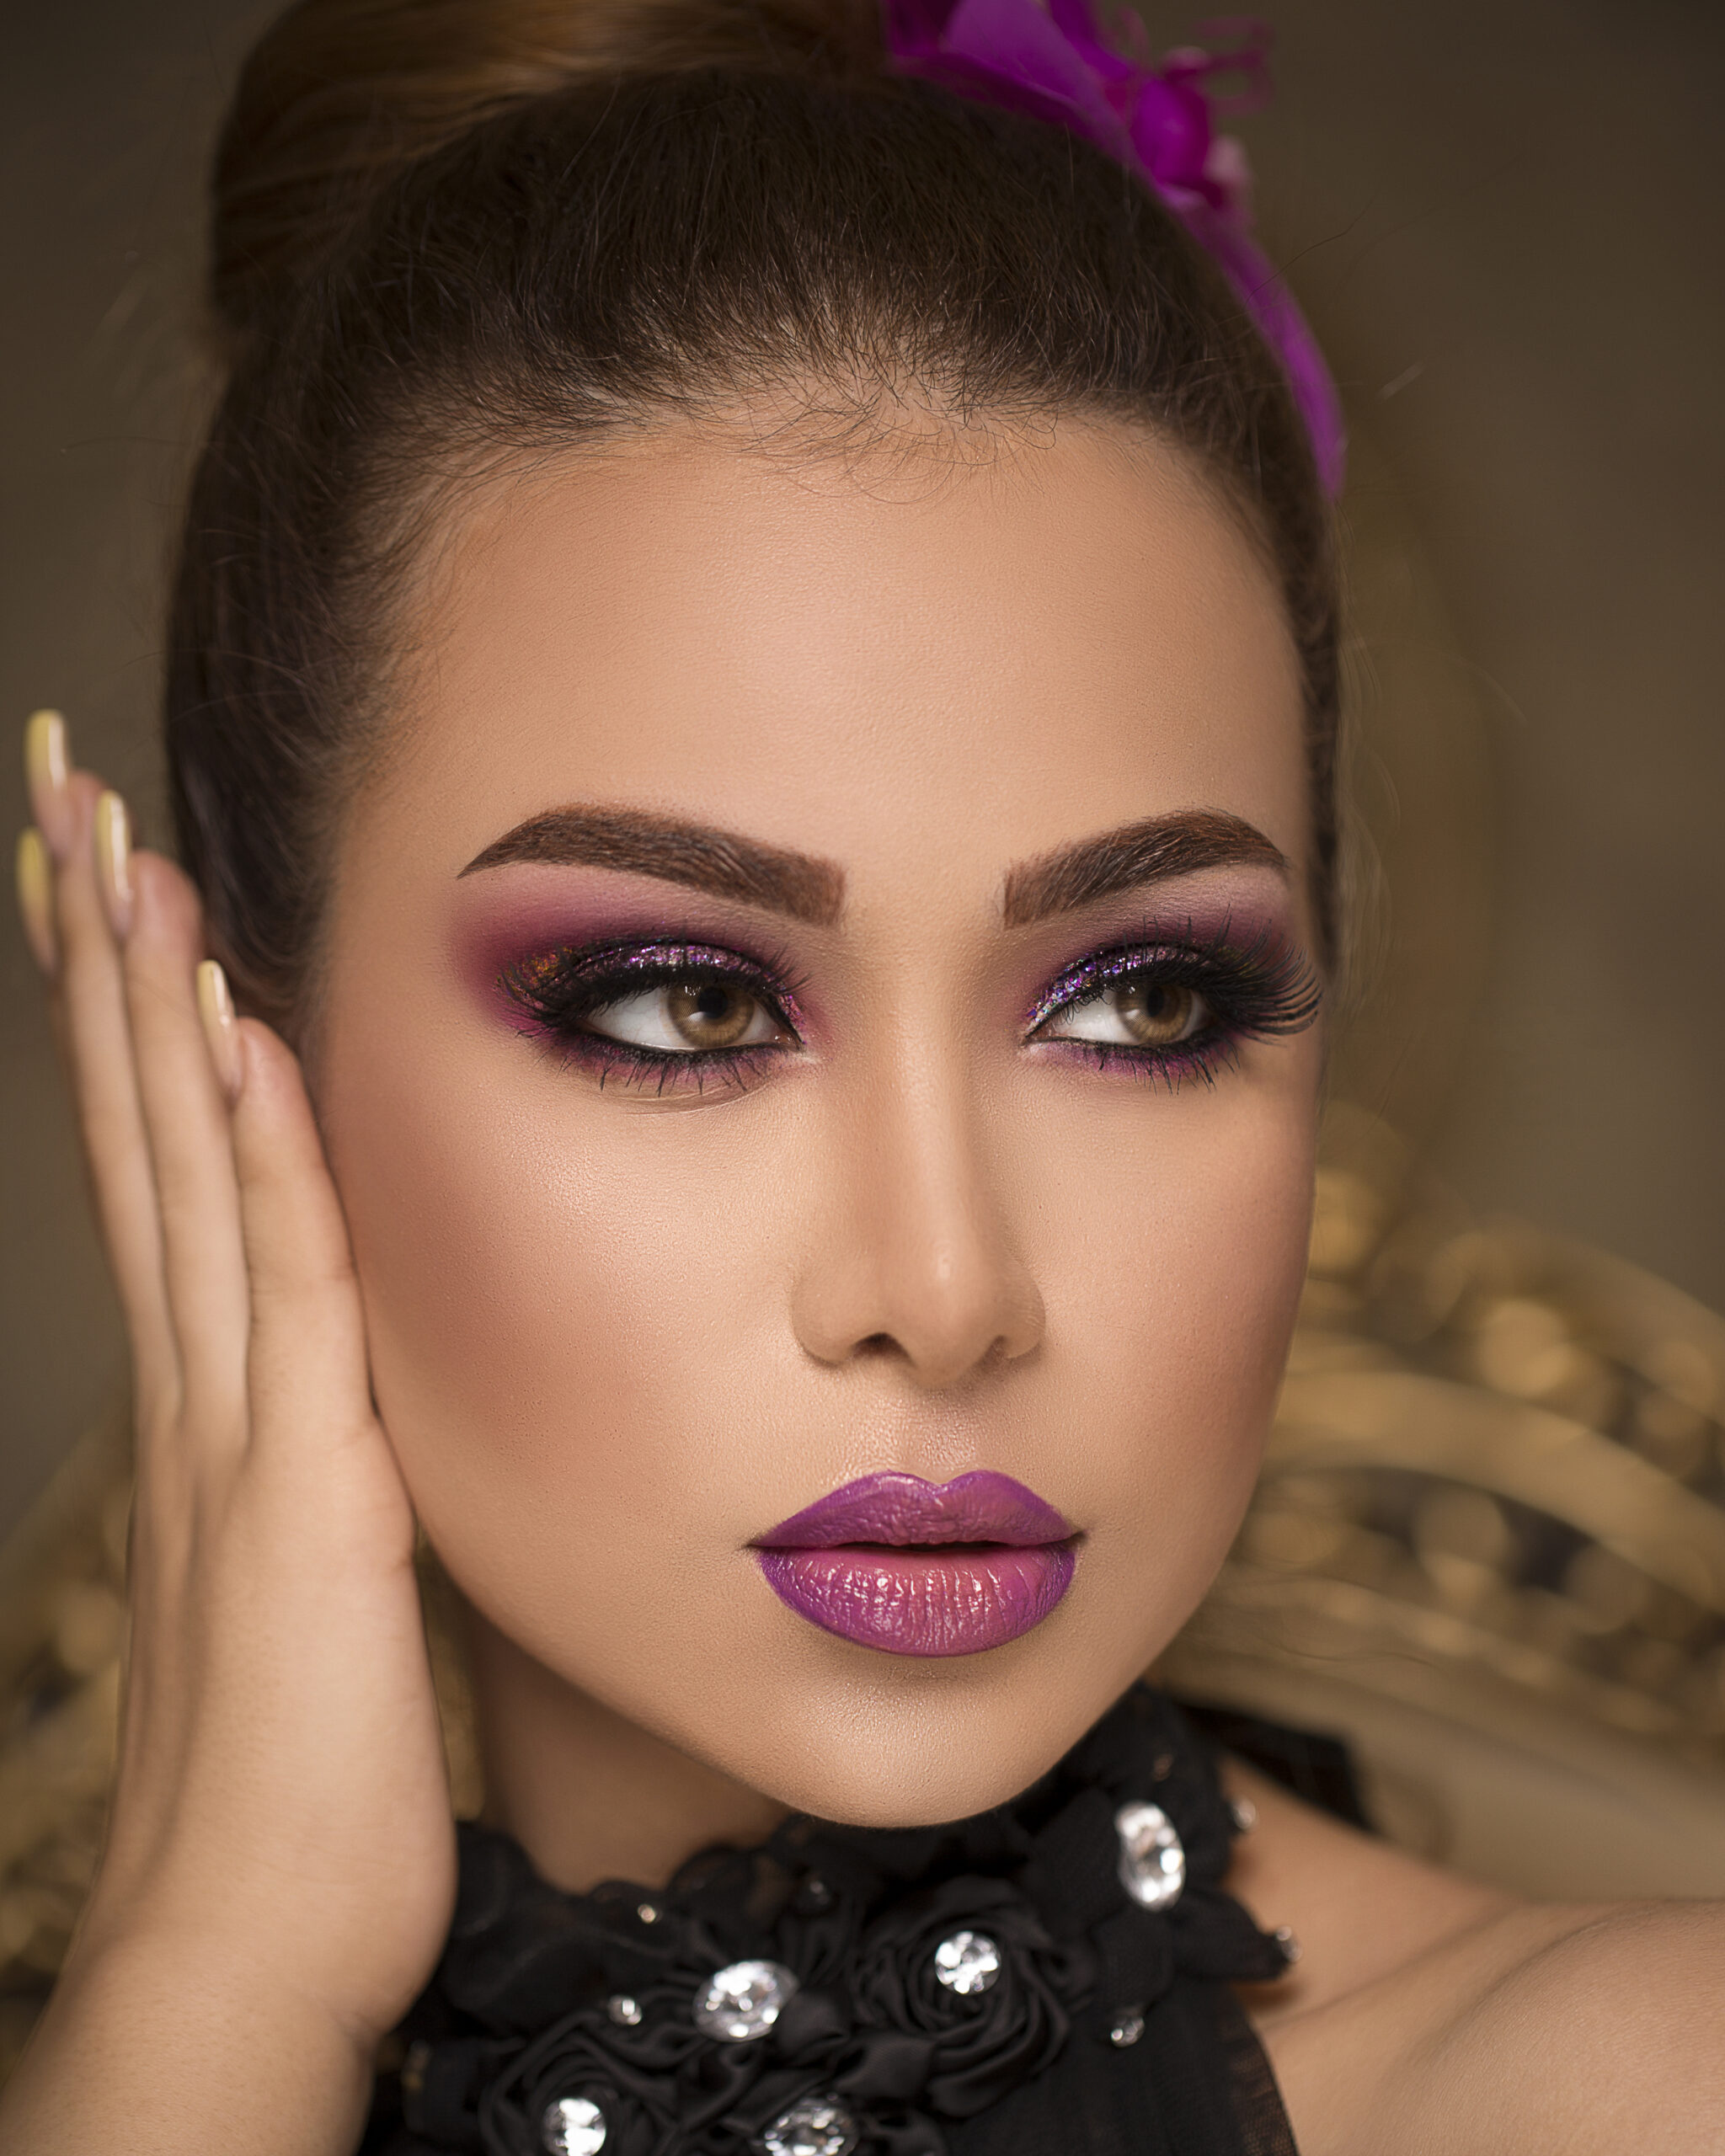
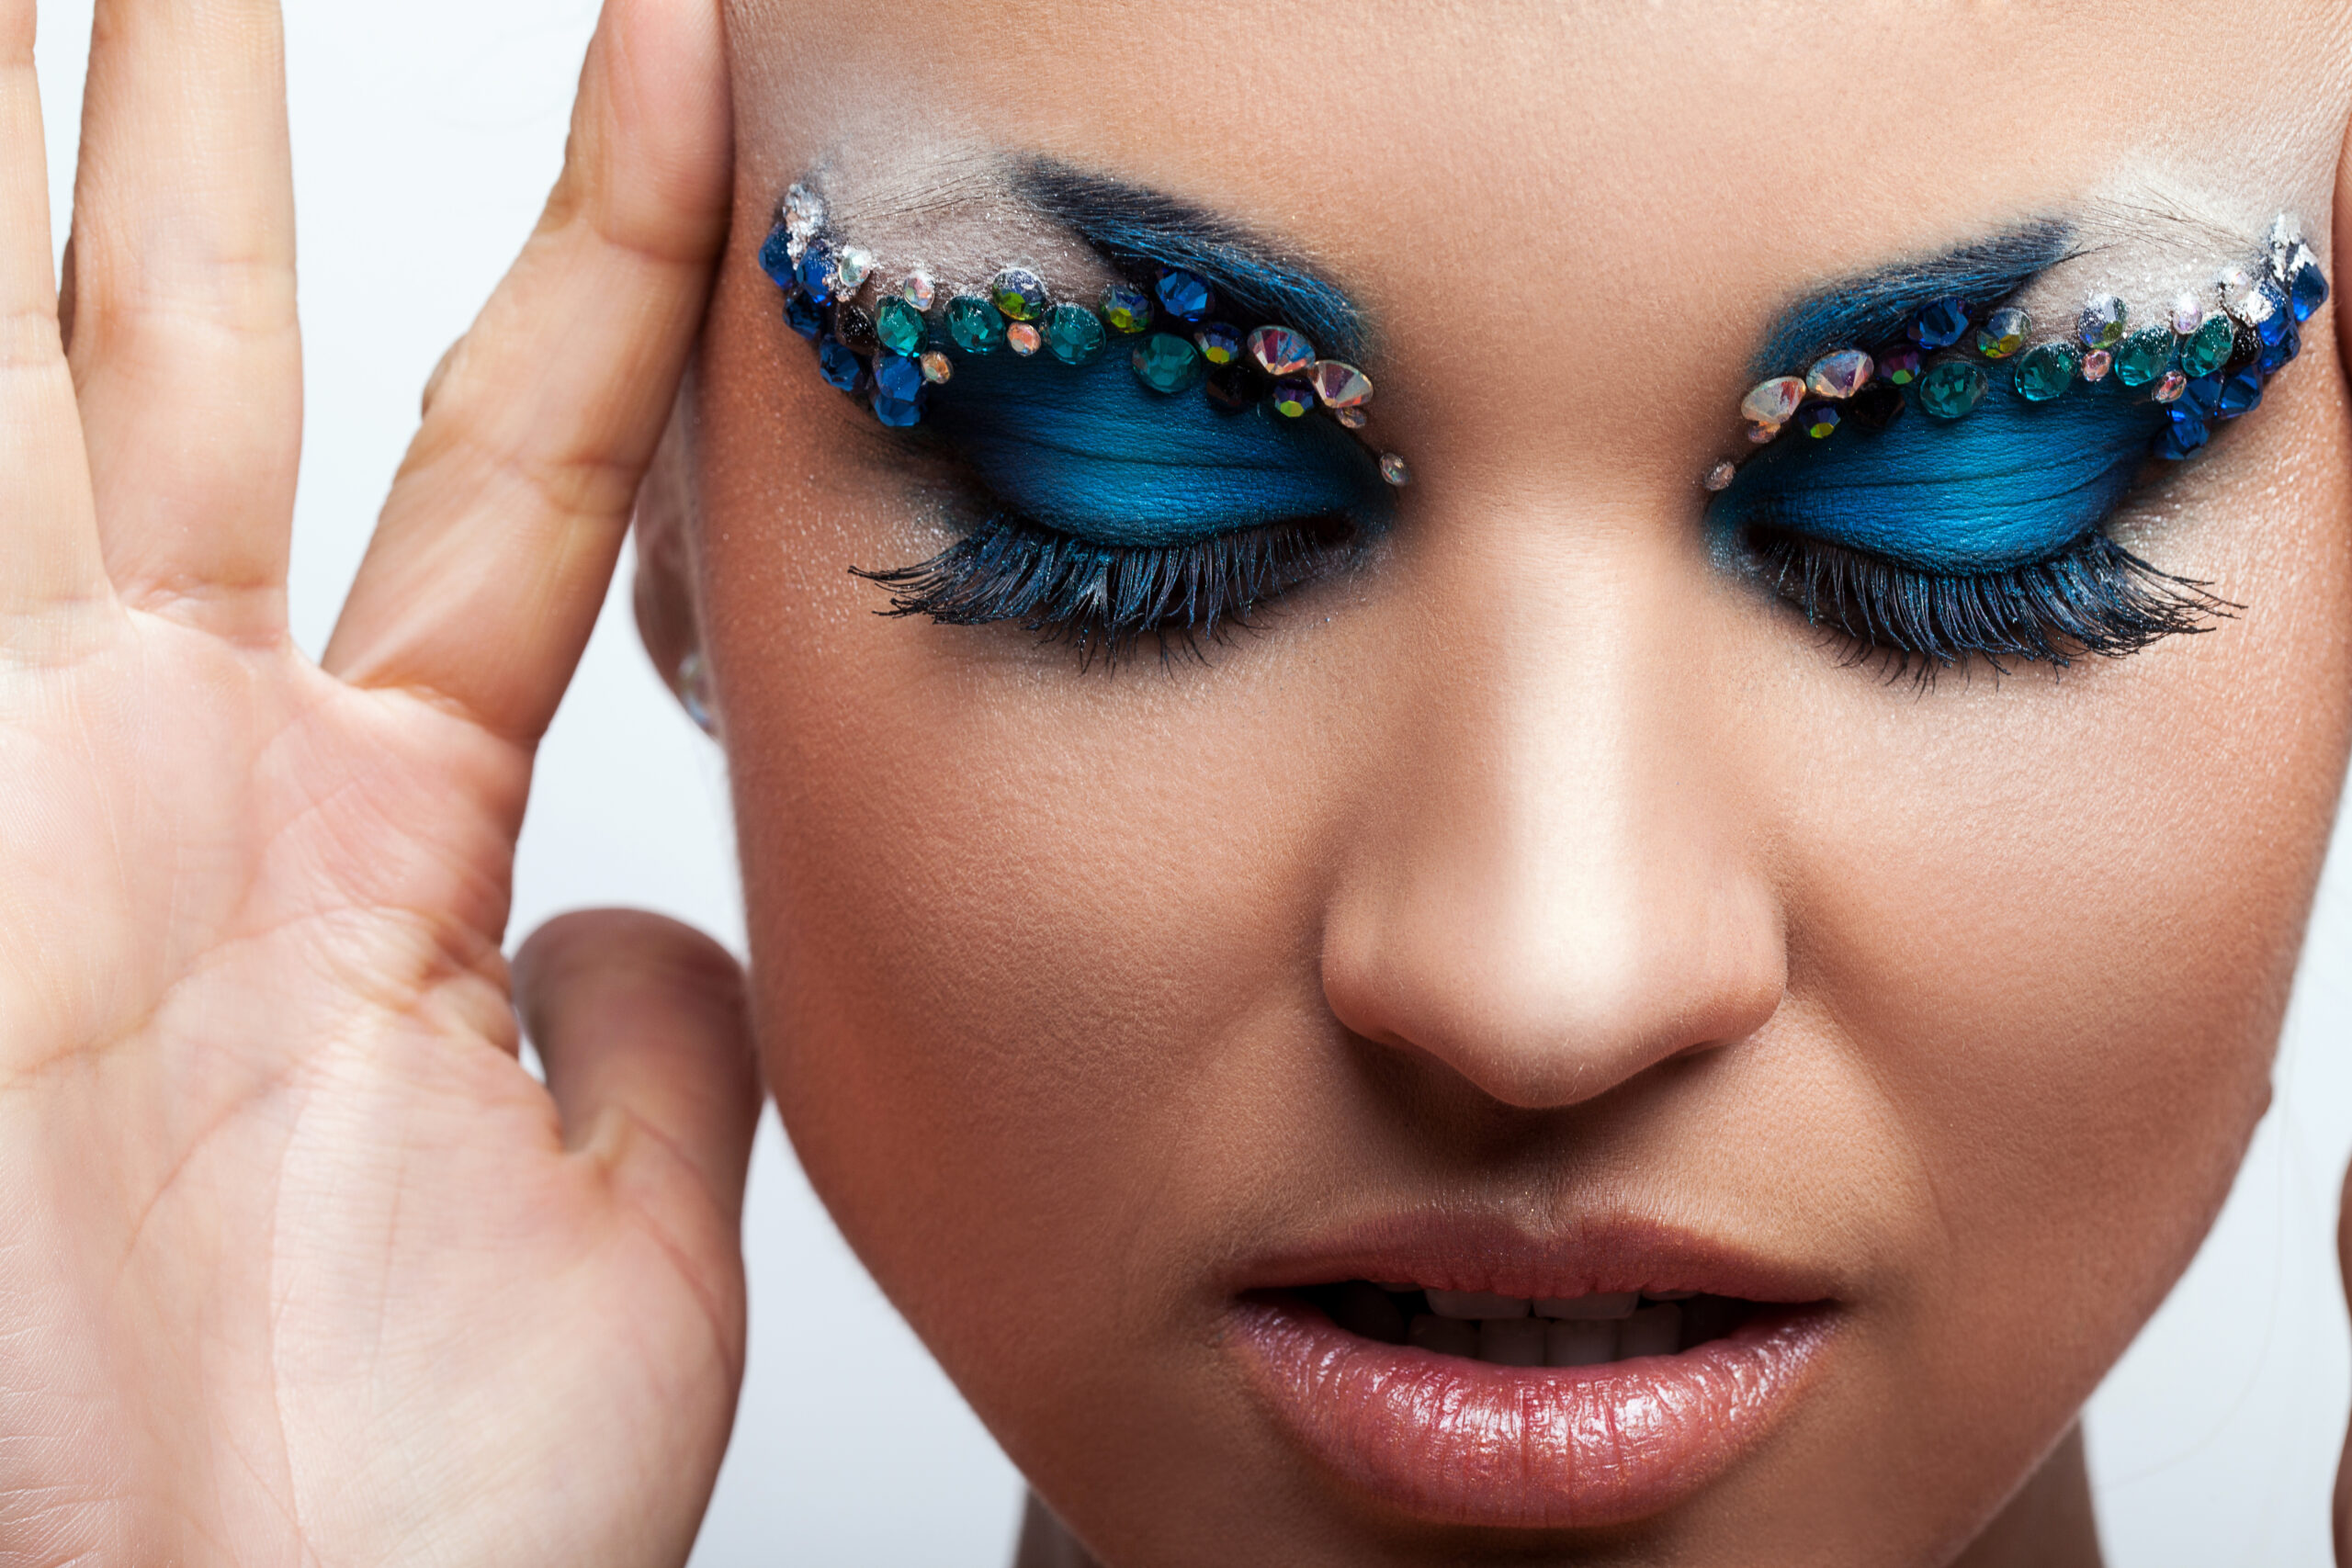
Whether you choose moderate colours or go big with colourful colours, eyeshadow can add interest to your cosmetic look. Whatever style you go for, make sure you have two complementary eyeshadows: one lighter and one deeper hue.
Dip your eyeshadow brush into the light shade and tap it to remove any excess product. Start at the lash line and work your way up to just above the crease of your eyelid with the lighter shadow.
Now, dip your brush into the deeper colour and tap off the excess. Apply the colour right above your lash line in the outer corner of your eye. Sweep the darker colour over the crease of your eyelids, slightly below the brow bone. Stop applying around the centre of your eyelid to avoid darkening the inner corners. Blend the two colours together with a clean shadow brush. If you want a more intense appearance, reapply the darker shadow.
Step 9: Use Eyeliner to Define Your Eyes

Apply eyeliner before mascara and after eyeshadow or brow shaping. For extra definition, put waterproof eyeliner on your waterline. You have the option of using gel, liquid, or pencil eyeliner.
Step 10: Apply Mascara

Your lashes will get longer, thicker, and fuller with mascara. To avoid making your lashes feel heavy, use a light or air-whipped formula. Additionally, use an eyelash curler before applying mascara if you want to maintain your curl.
Step 11: Apply a Highlighter

Highlighter will add a finishing touch to your makeup. Apply highlighter to the ‘high’ regions of your face where the sun would normally shine. If you’re just starting off, use a powder highlighter.
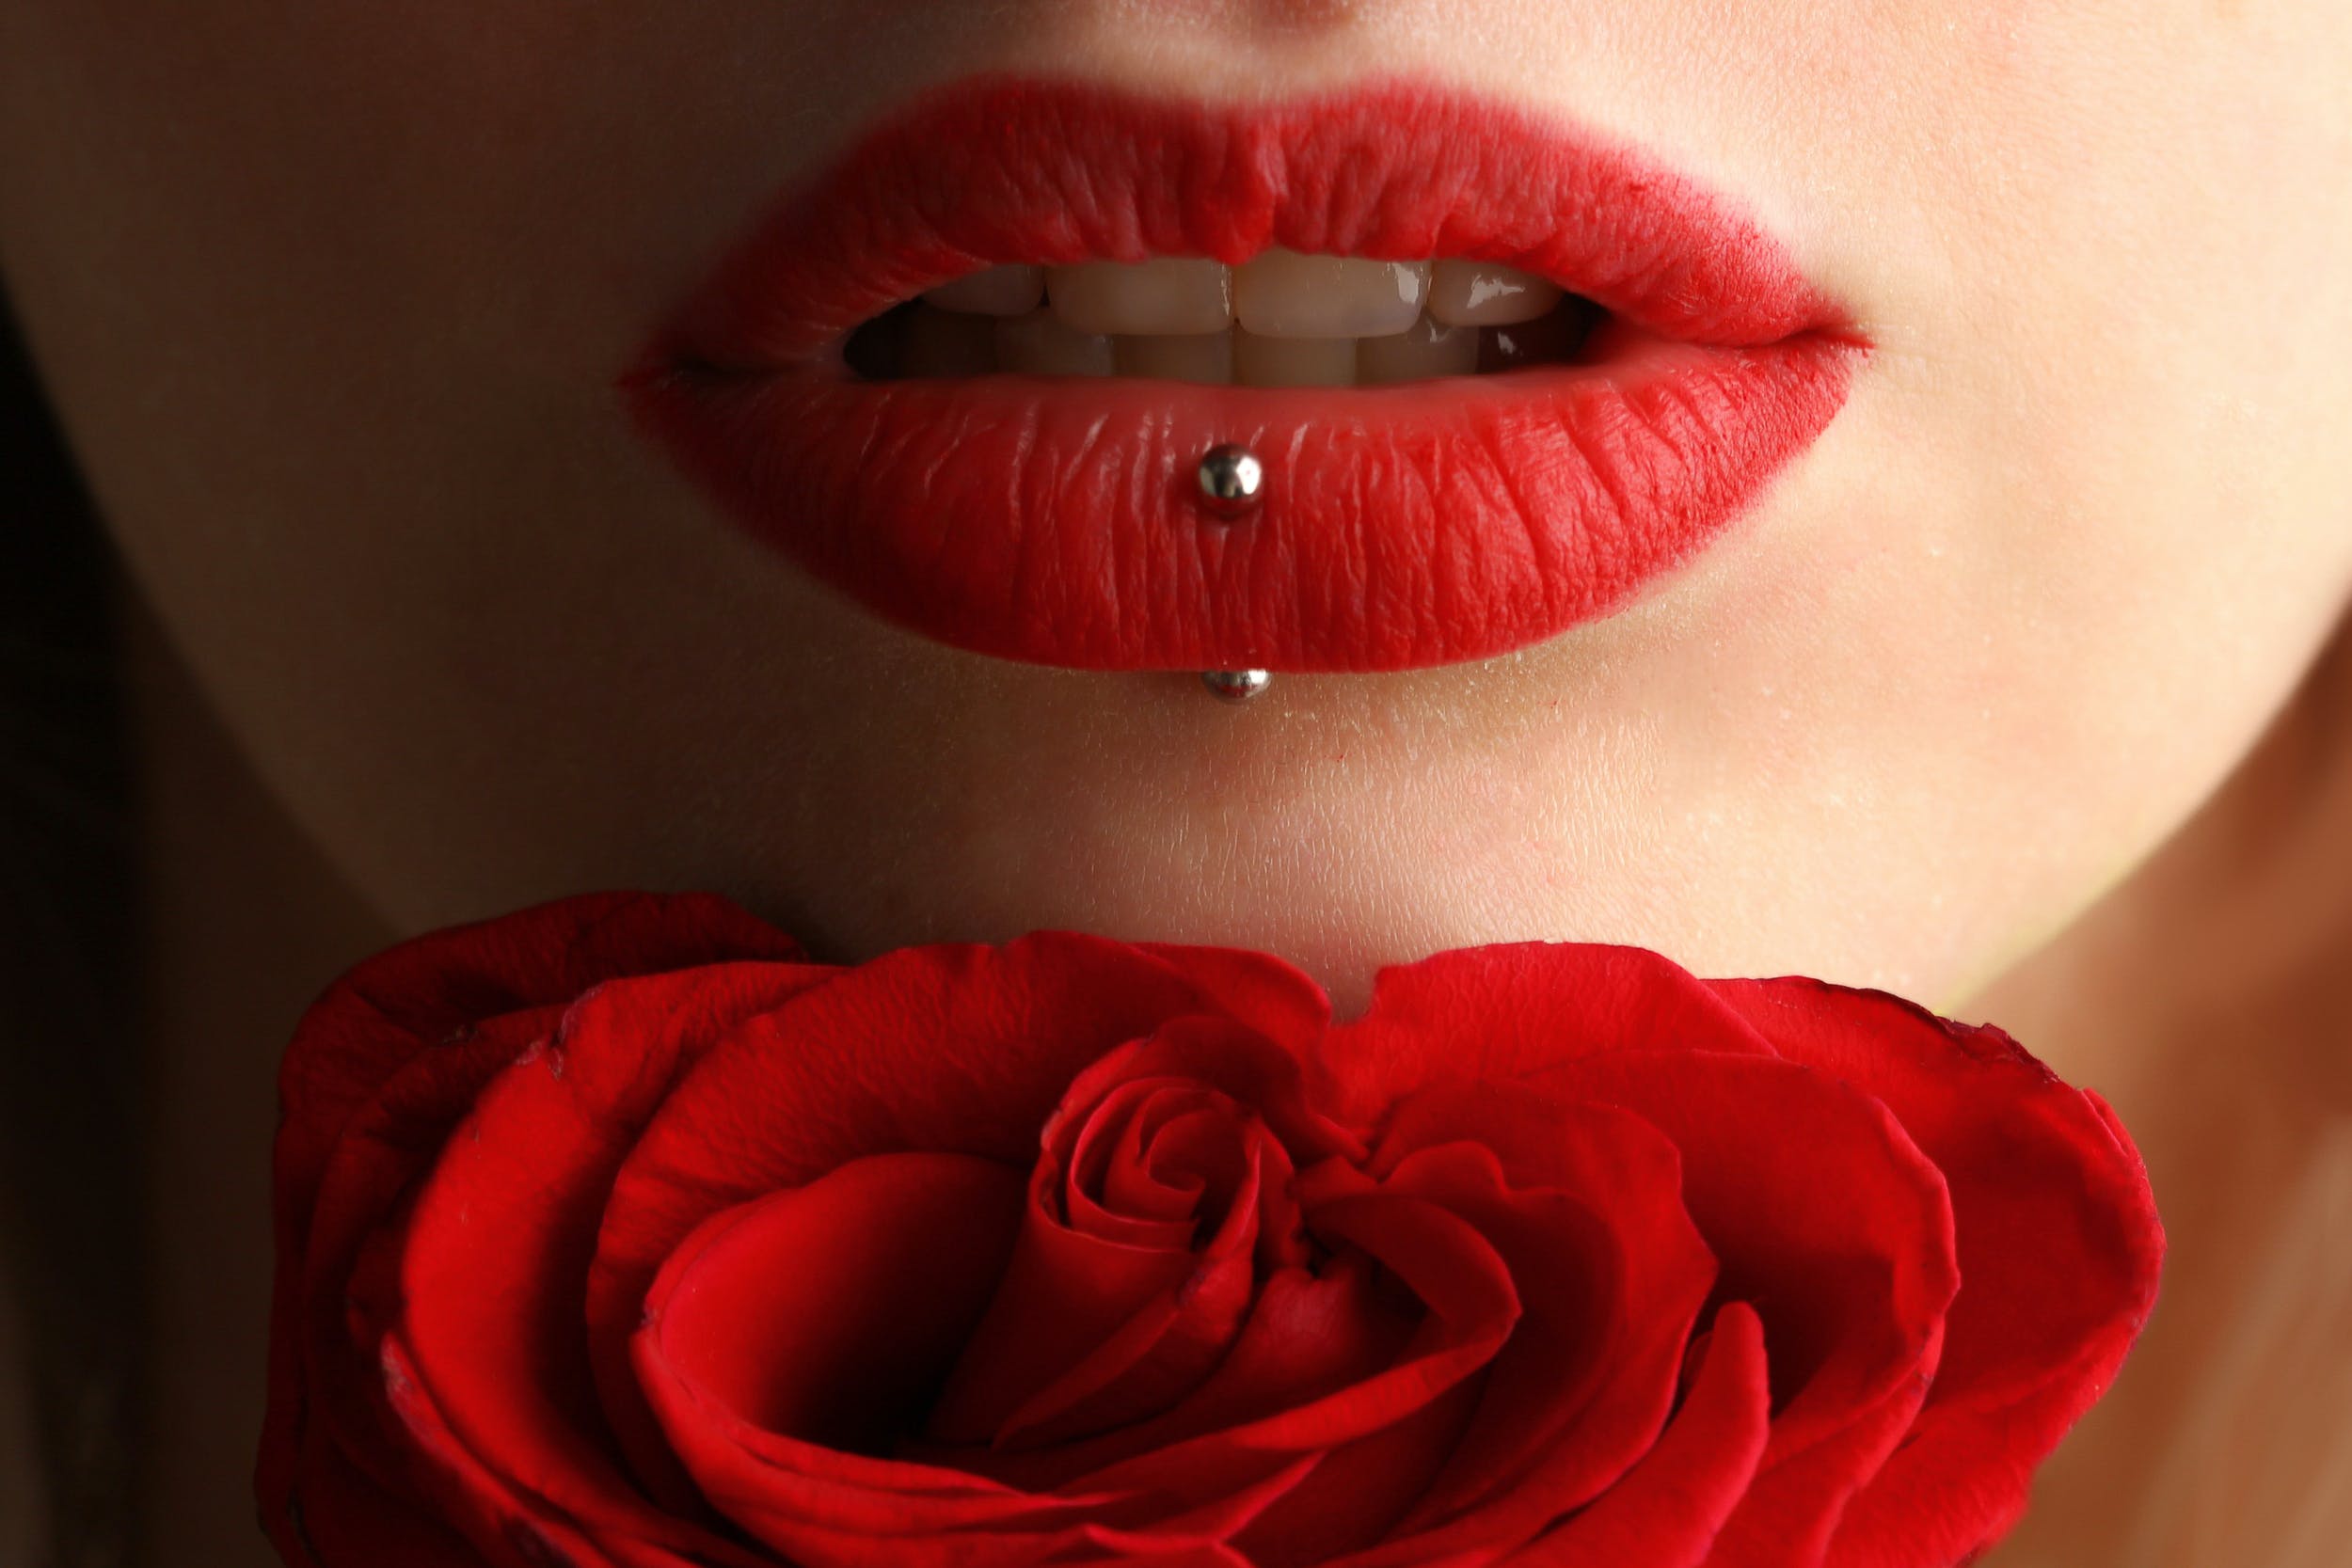
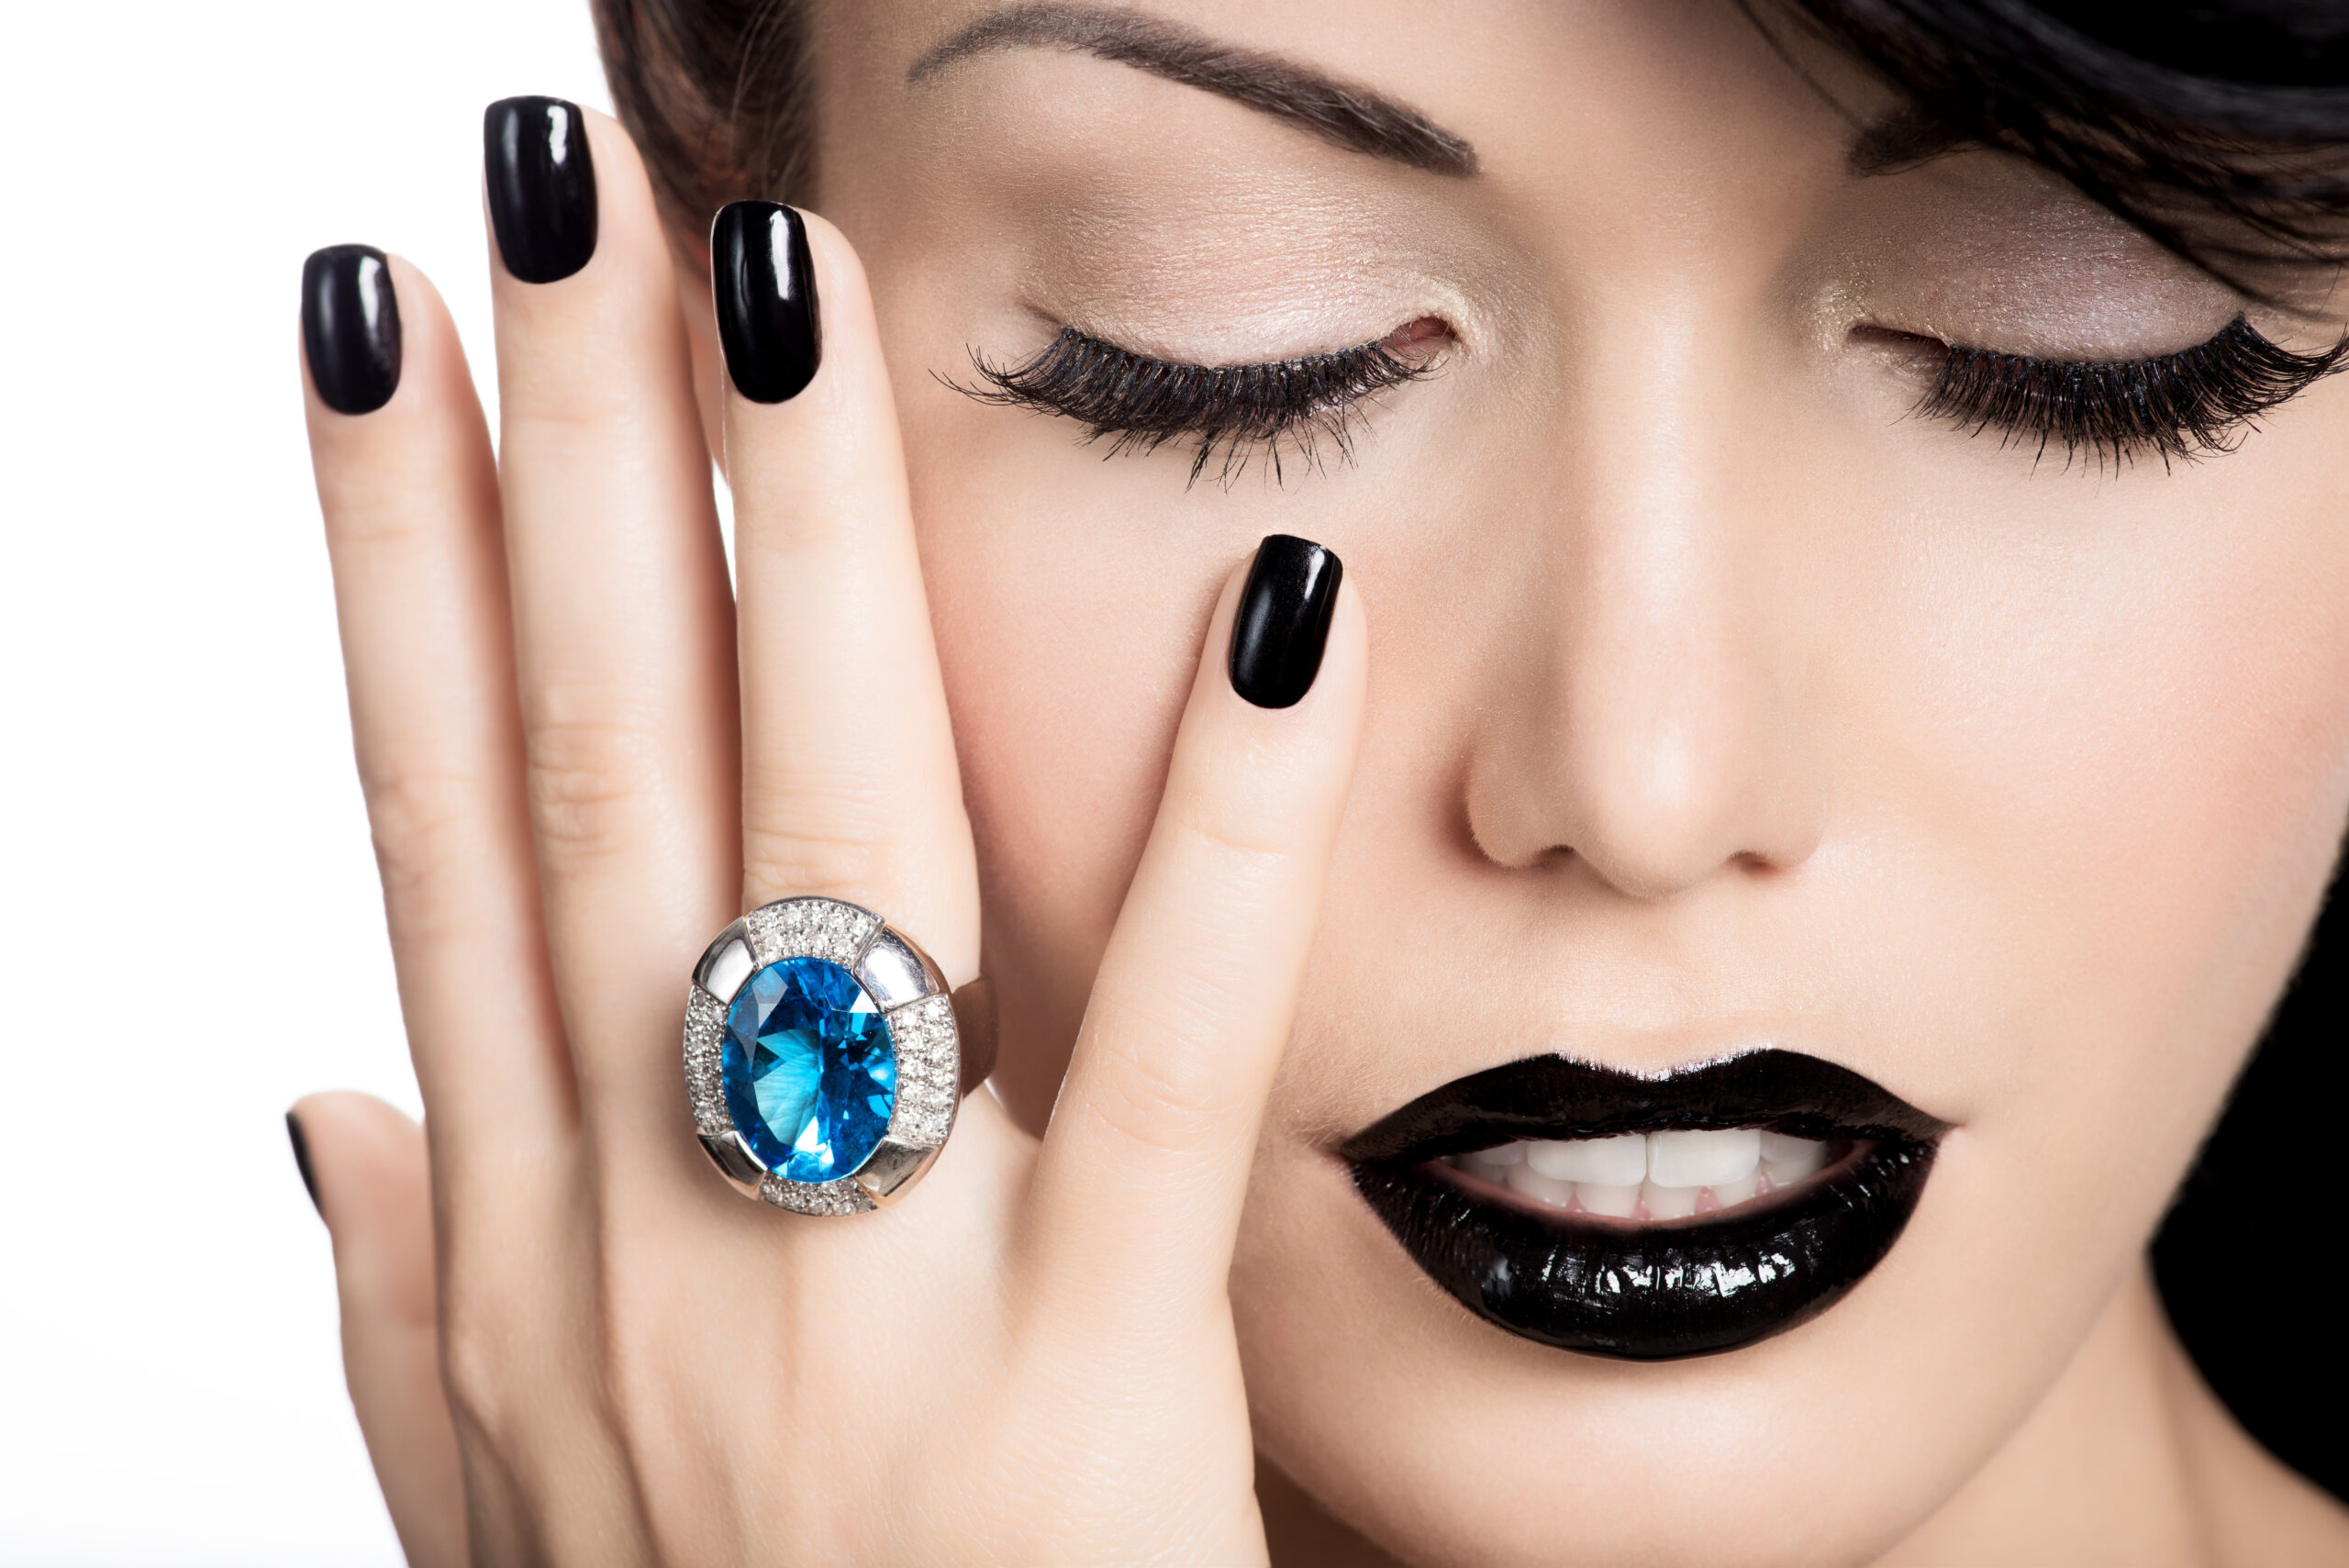
Step 12: Lipstick and Lipliner

Apply your preferred lipstick after lining your lips with lip pencil. Your lip colour should match the shade of your liner. To create broader lips and a bigger pout, draw a line across your lips (outside of your natural lip line).
Step 13: Setting spray and powder

Setting spray or powder can be used as the finishing touch to your makeup regimen. If you want your makeup to last all day without greasing, creasing, or shining, you should invest in a high-quality setting solution.
Setting sprays are suitable for all skin types and may be used to set a range of looks, whether you’re wearing light makeup or a full face of it. Setting spray holds your makeup in place, reducing the need for reapplication and keeping your makeup appearing immaculate for hours.
Setting spray is to your face what hairspray is to your trendy do, and it’s used in the same way. Holding the bottle at least 8 inches from your face, lightly spray your entire face a few times. Spray an X on your face first, followed by a T, to ensure that your makeup is evenly applied from forehead to chin.
After application, there is no need to rub in the spray because it will naturally dry in a matter of seconds.
Final Thoughts
In this beginner’s introduction to makeup application, we’ve covered all of the fundamental techniques. Once you’ve mastered the fundamentals, you can progress to more experimental makeup processes to develop your personal style. Aside from the cosmetics, there are a few other things to consider when beginning to learn these abilities. Adopting a proper skincare routine is essential for maintaining the quality of your skin when you are not wearing makeup. Furthermore, no matter how exhausted you are at the end of the day, you must remember to remove any makeup and thoroughly clean your face before going to bed. There! You’re ready to explore the magical world of makeup!

Utkarsha Gupta is a fashion writer with 7 years of professional writing experience and holds a PGDM degree from FMS IRM, Jaipur. Though she came from a management background, my zeal for writing motivated her to pursue a career in the content industry. Utkarsha is well-versed with writing SEO-friendly articles. she has been creating articles specializing in trendy hairstyles, fashion trends , trendy accessories and trendy nail art. Utkarsha hooked to create unique and interesting content through timely research and analyses of the reader’s interest.